

In this article, we will learn How to Install Plesk Panel for Windows Server 2016 hosted on Google Cloud Compute Engine?
We will cover the following key points in this article,
- Create a new VM Instance for Windows Server 2016 on Google Cloud Compute Engine.
- Install Plesk Panel on Windows Server 2016.
- Port and Firewall Rules for Plesk Panel.
Step 1: Create a new Windows Server 2016 VM Instance.
We will use a fresh installation for Window Server 2016 to install Plesk Panel. Open Google Cloud Compute Engine VM Instance page to create a new VM Instance for Windows Server 2016. Following are the inputs for our new Windows Server 2016 VM Instance
Name: windows-server-1
Region: us-central (Iowa)
Zone: us-central1-c
Machine type: 1 vCPU, 3.75 GB Ram
Boot Disk: Windows Server 2016 Datacenter with 50 GB SSD
Firewall: Allow HTTP and HTTPS traffic

Above is our VM machine setup. You may change the required values. For example, for the region, we selected the US. If your audience is from India, please select the India region.
Create a new VM Instance. Wait for the VM to start. Next, we need to create a password to access the VM.
Step 2: Create VM Password
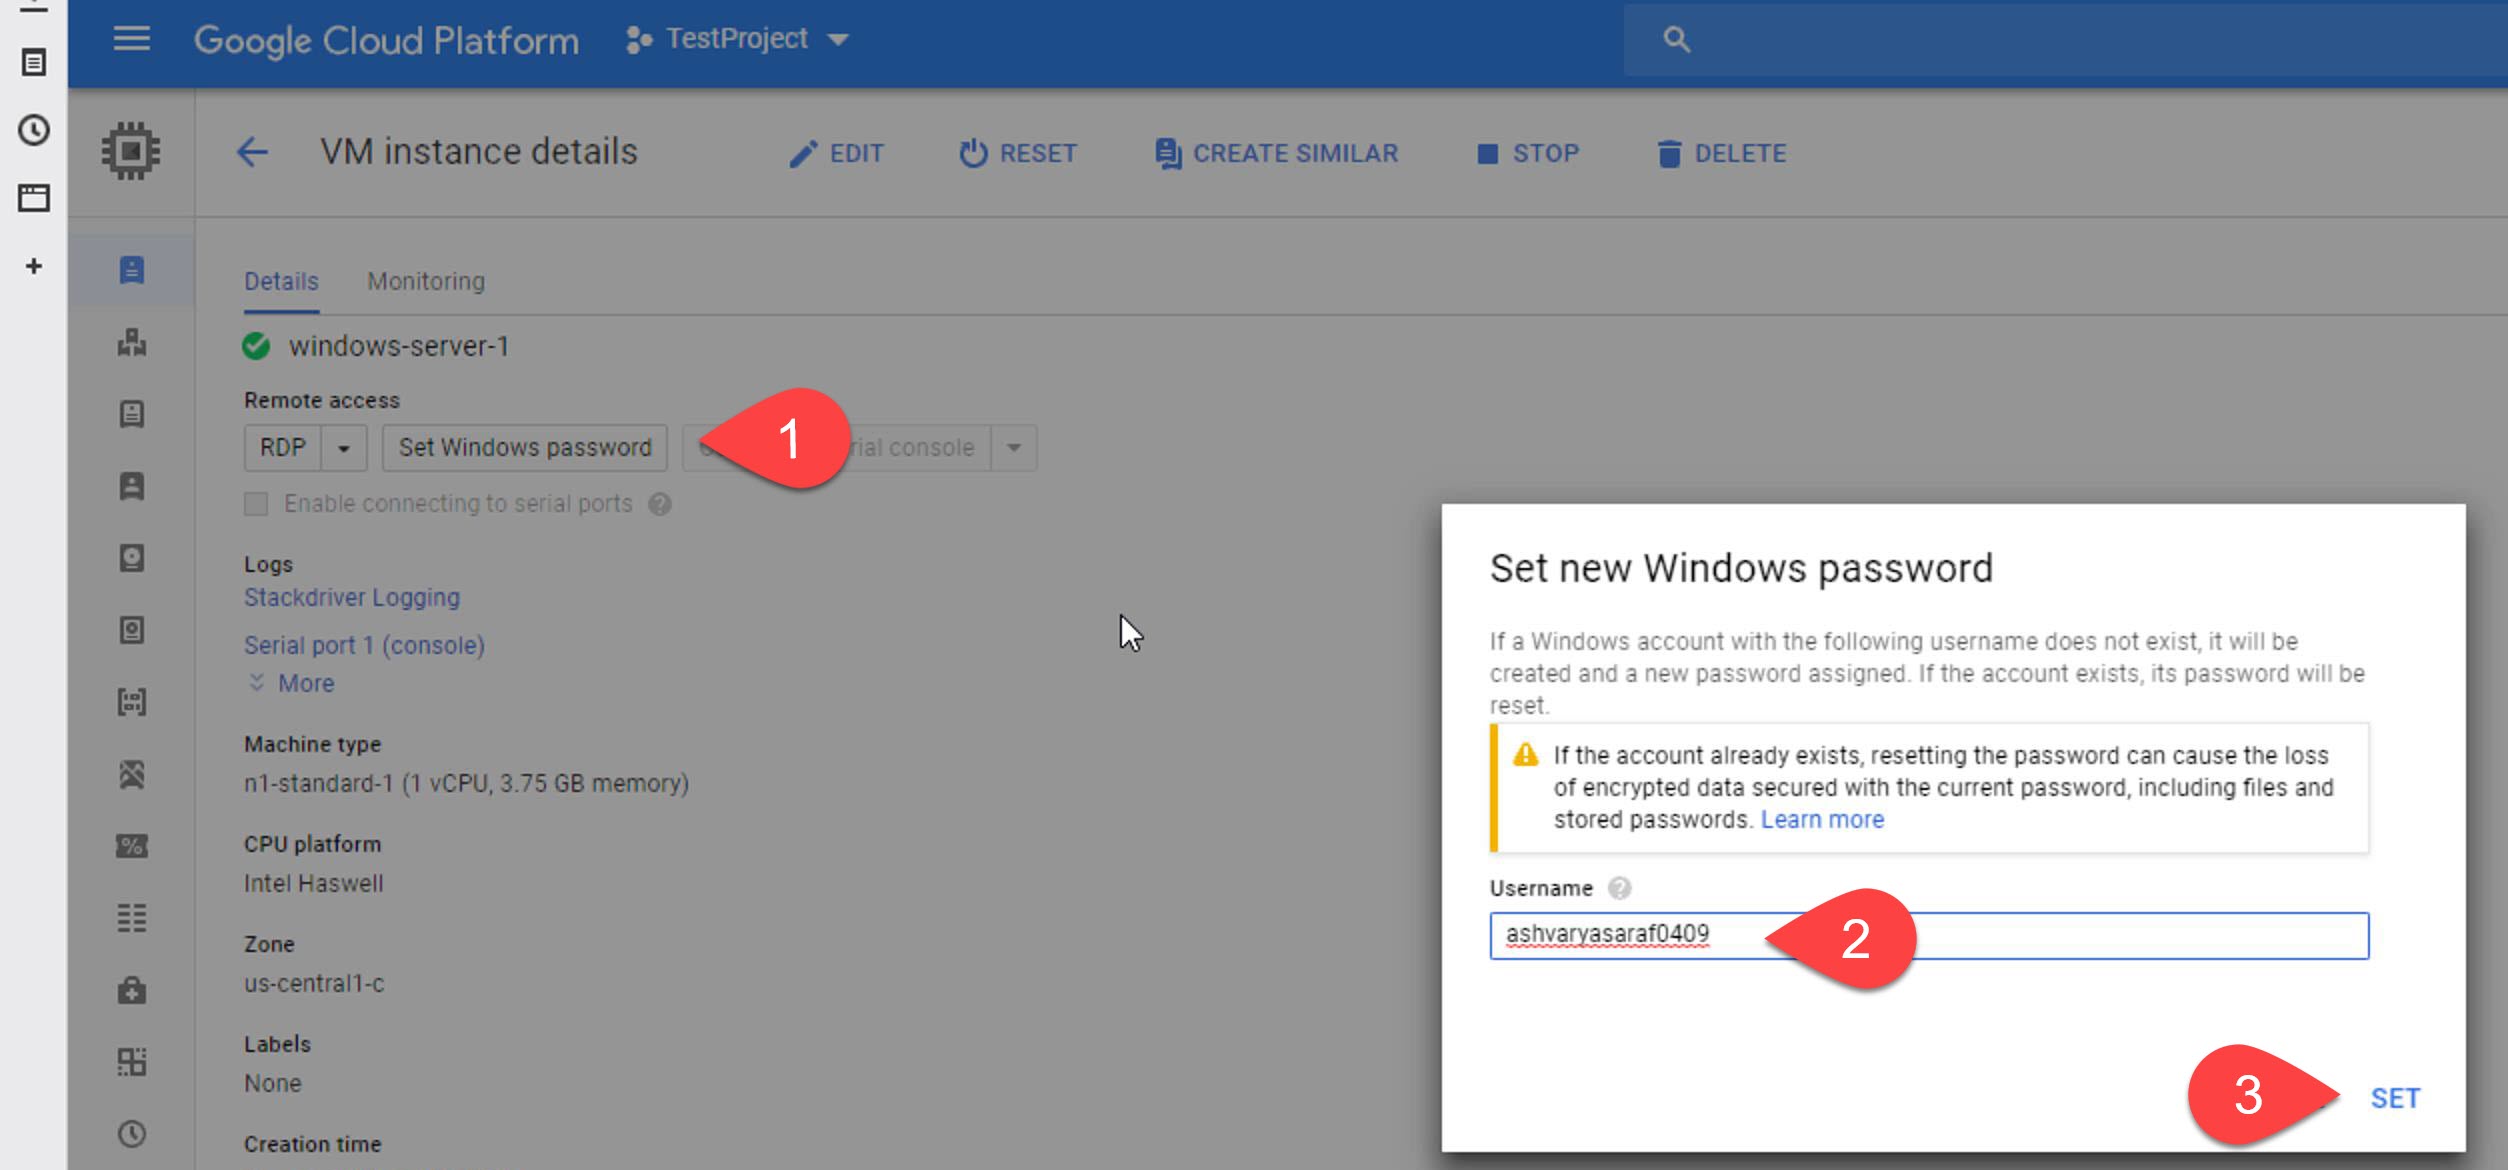
Click on the newly created VM instance. On the next windows, select the set password option. On the set, password dialog box provides the username and then click on set. Google will generate a password for you. Copy and Save the password for future use.

Step 3: Connect to Server using Remote Desktop Connection
Next, to access our Server we need to download the RDP. To download the RDP, click on Drop down and select Download the RDP file.

Once the file is downloaded, double-click on the RDP file. On RDP Connection windows, select "Don't ask me again for connections to this computer" option. Also, under show details section, select Clipboard. You may also select the printer if you need to use it. Finally, click on the connect button to connect to the server.


Step 4: Edit Internet Explorer Security Options
Once we are on our server, the first thing we need to use the Internet Explorer to Download the Plesk panel installer. For this, we need to use internet explorer. To download the files, we need to change the internet explorer security options. Open Internet Explorer, from the settings, select Internet Options. On the Internet Options Dialog, select the security tab.


Step 5: Register for the Free Trial
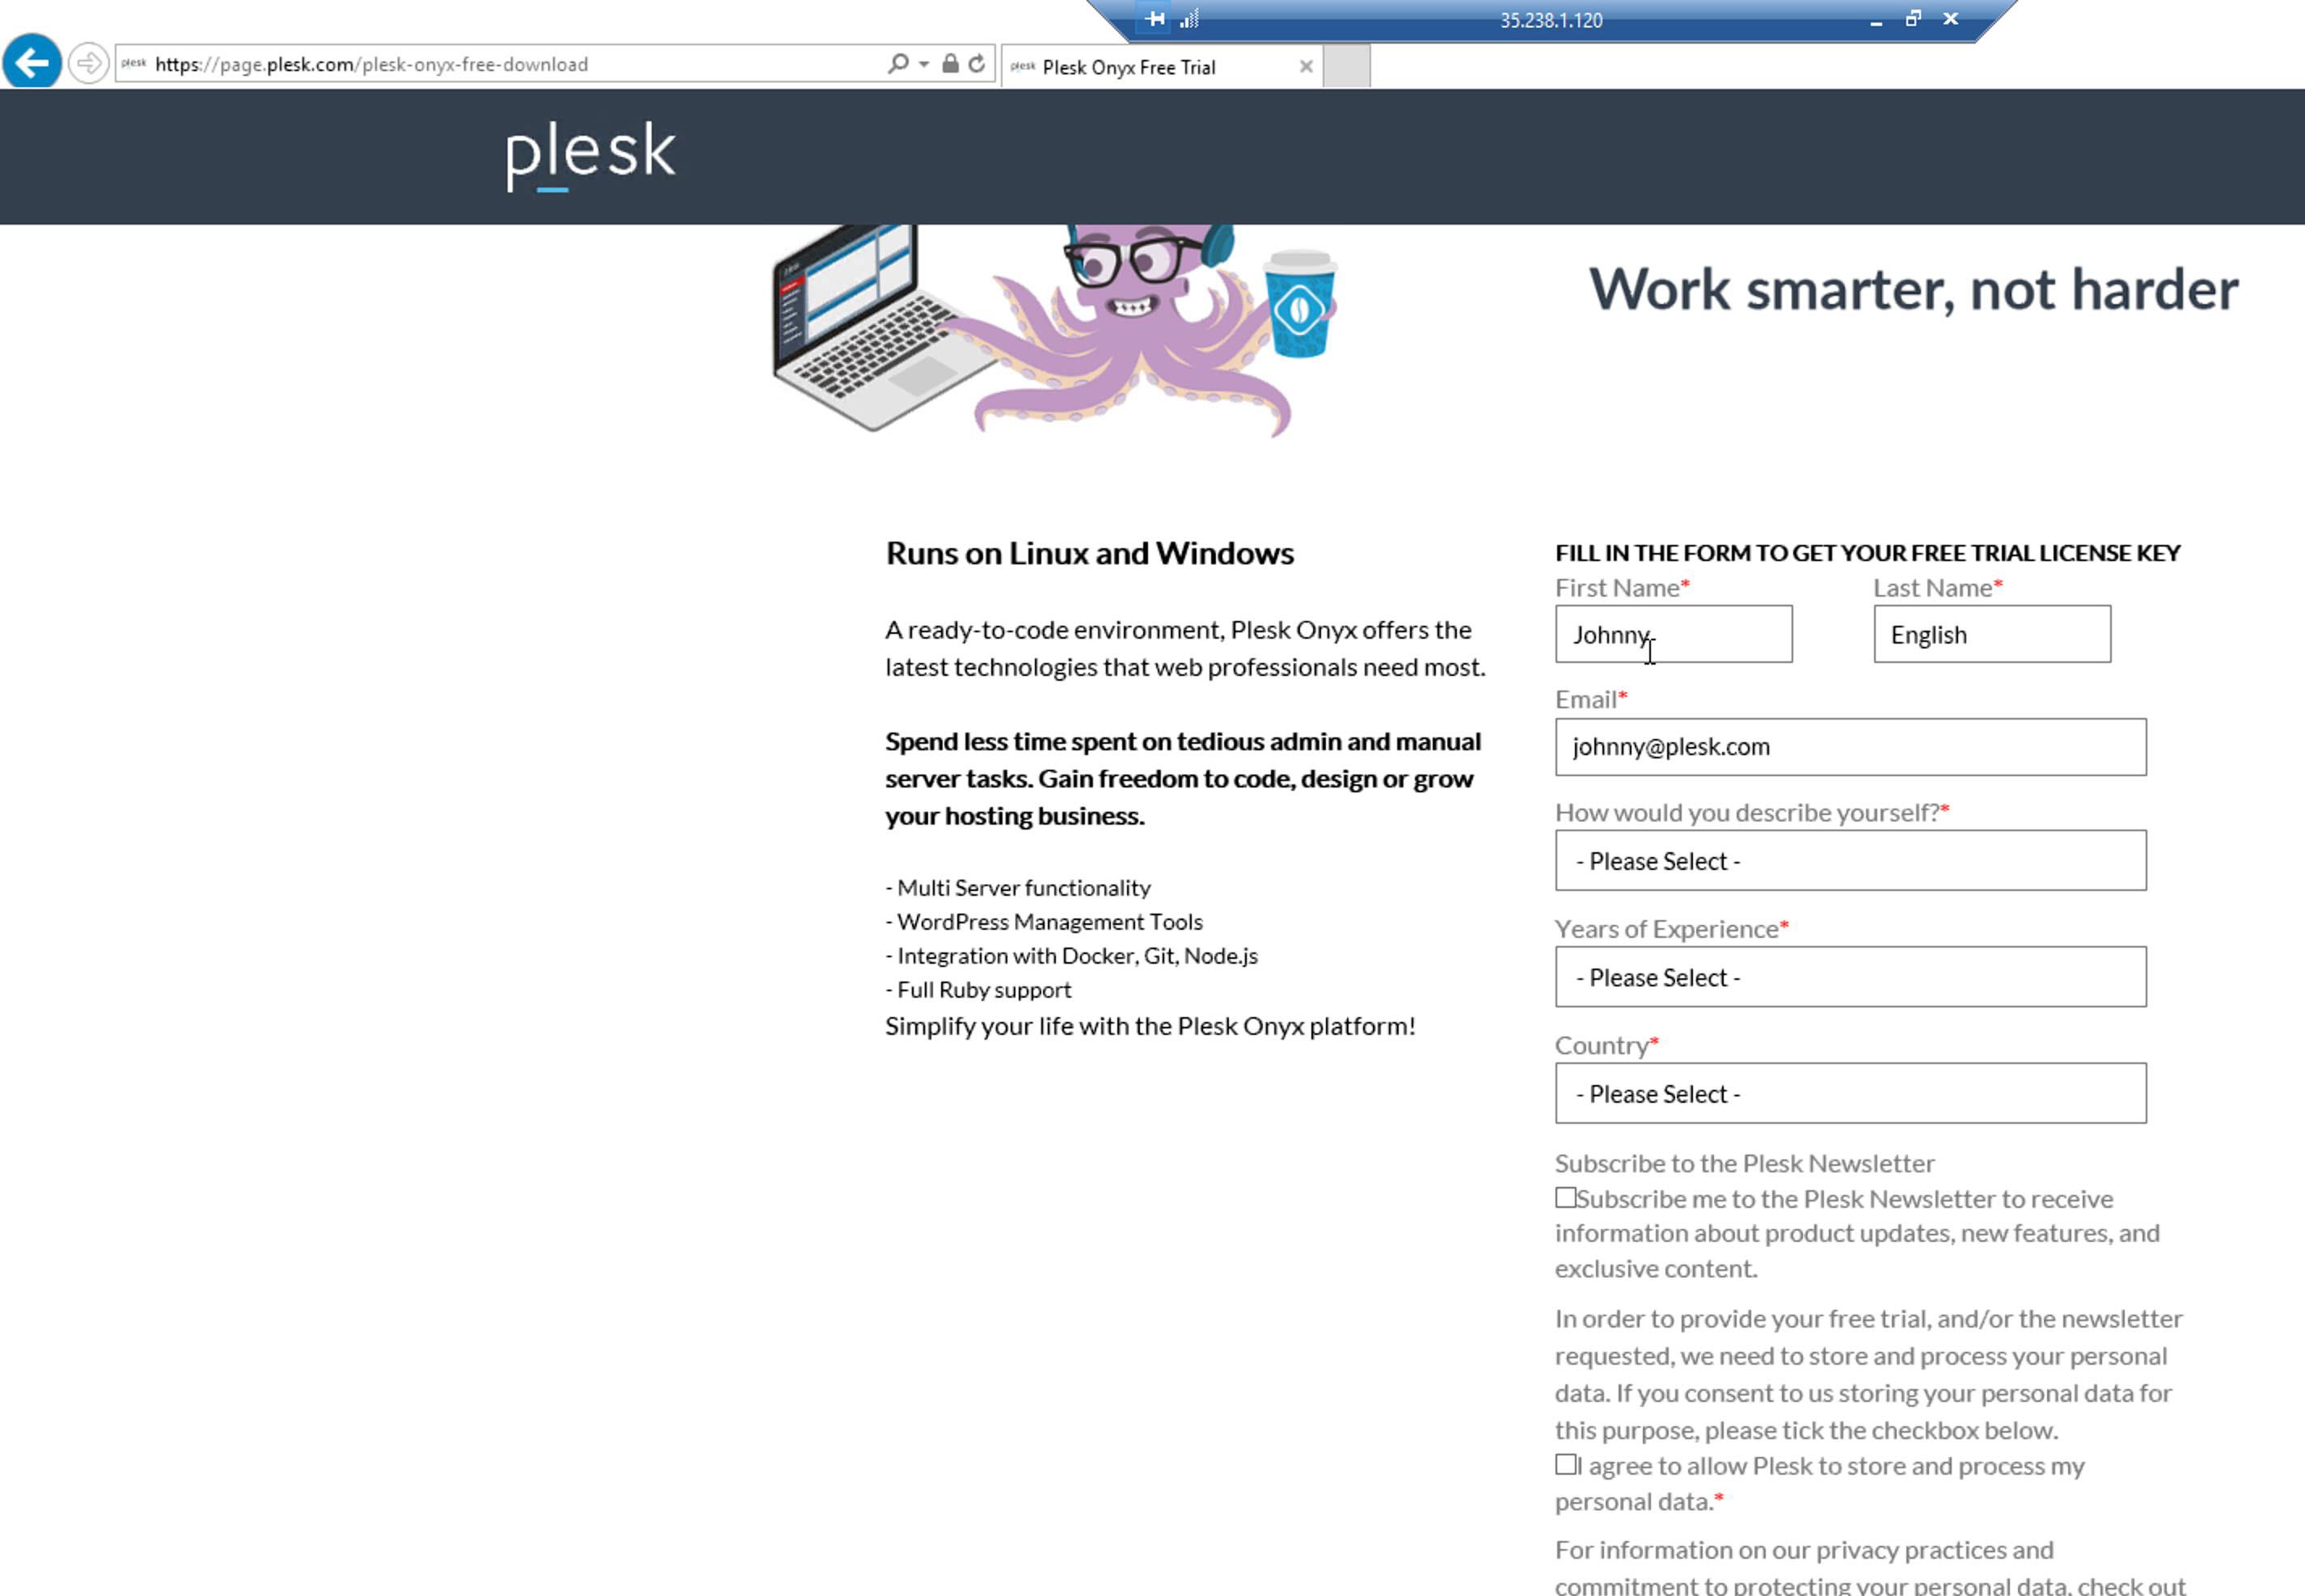
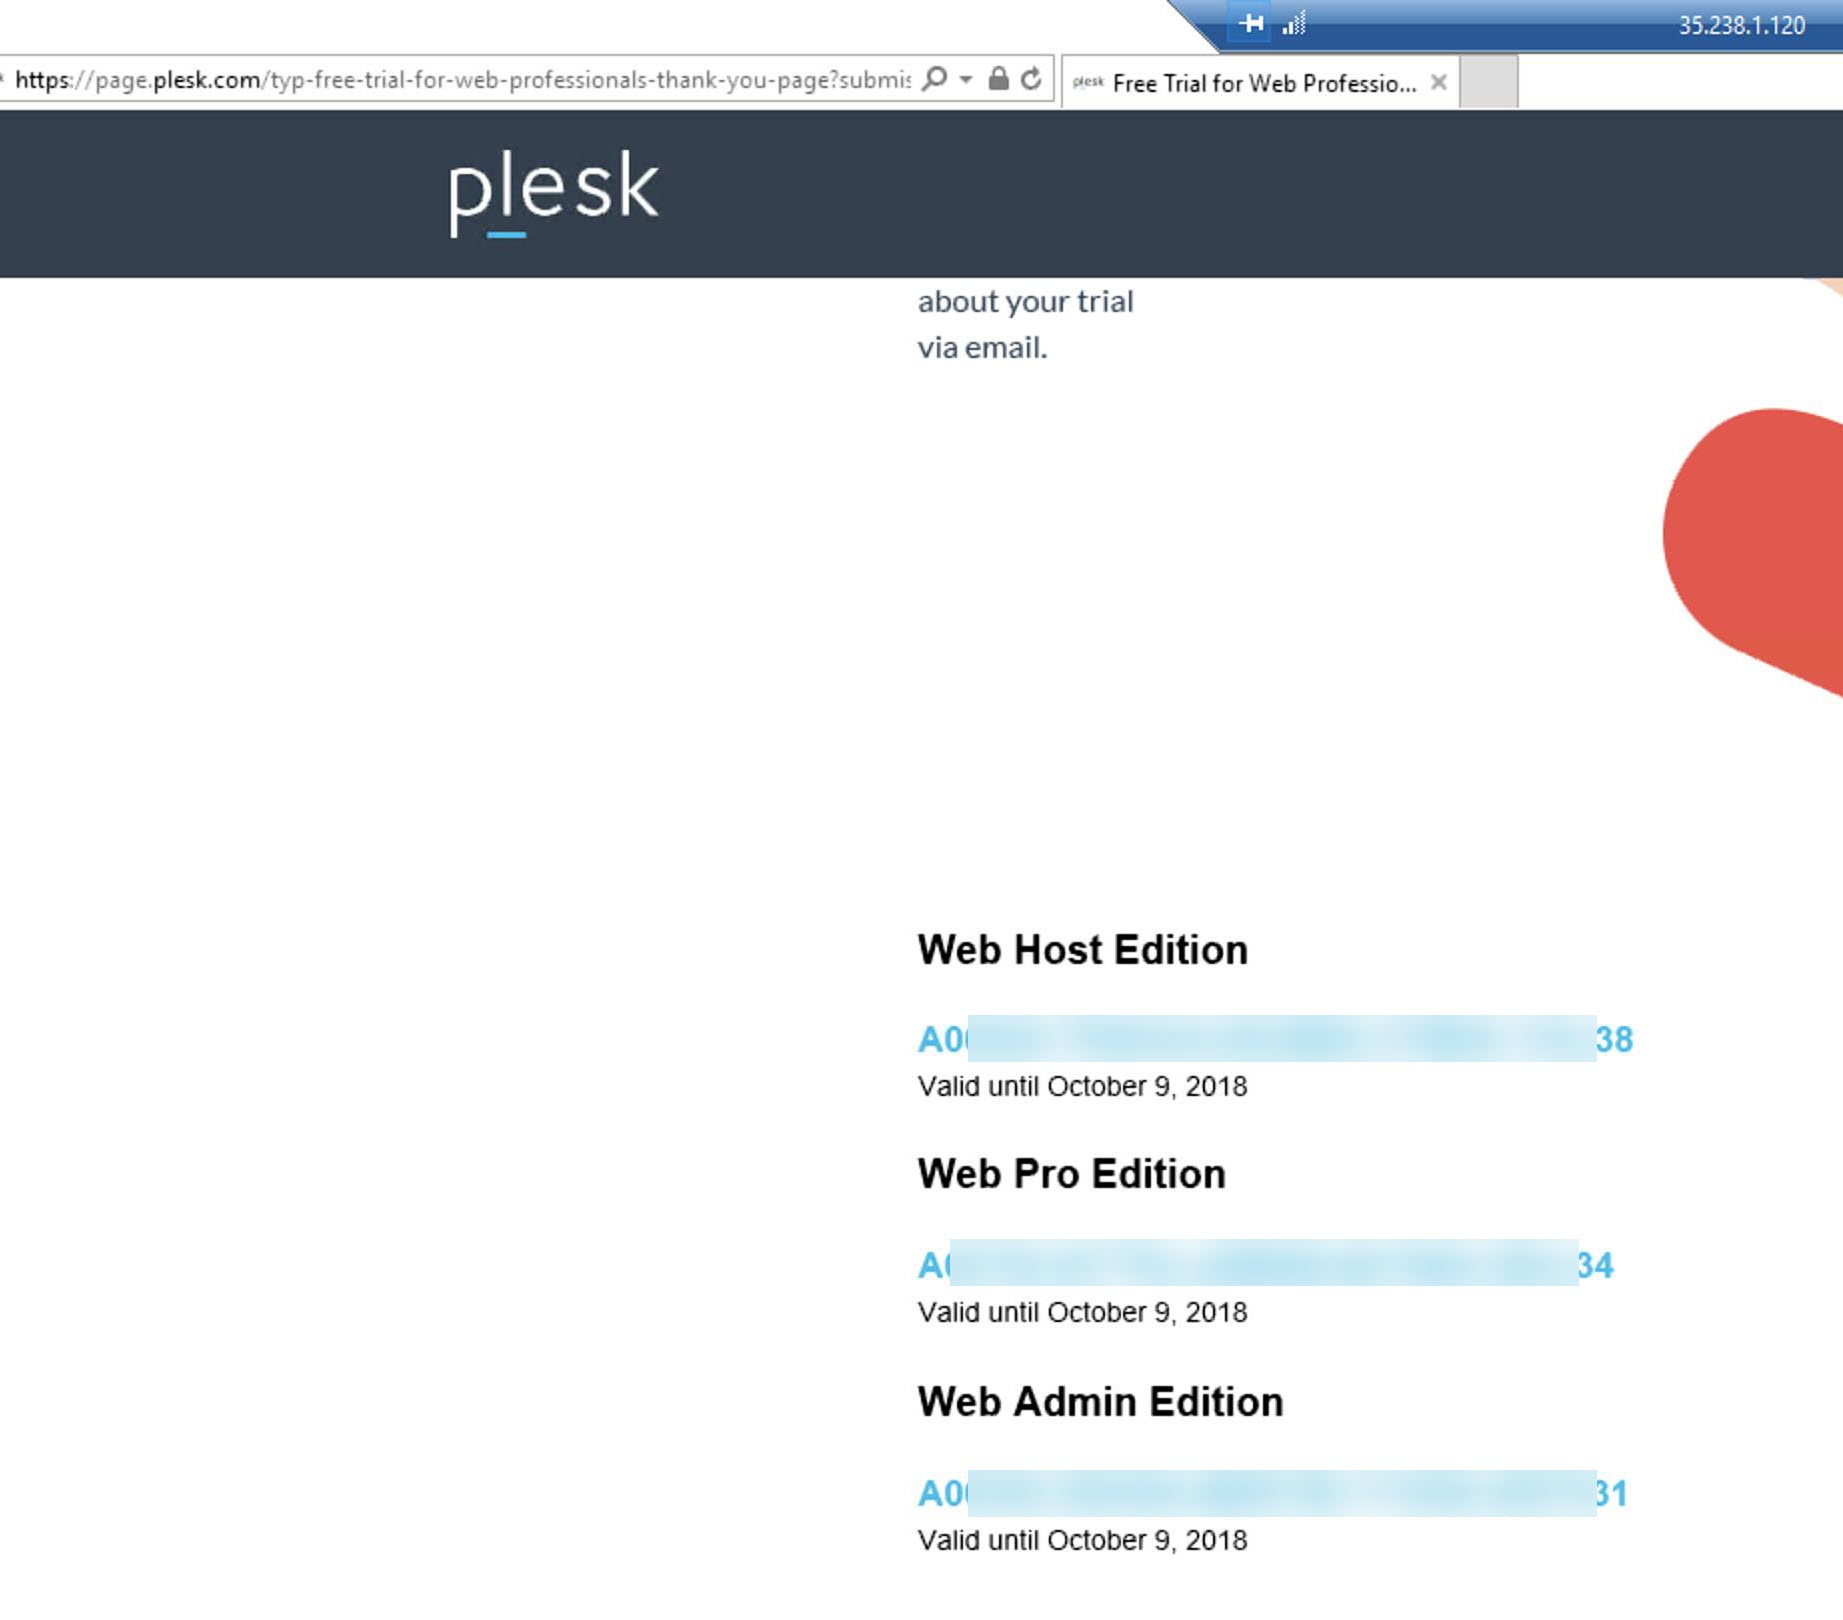
For this article, we will register for a free Plesk Panel Trial. At registration, we will receive a free trial key. We need to enter the trial key after the Plesk panel setup. For trial registration, we need to visit https://page.plesk.com/plesk-onyx-free-download. On this page, we need to complete the registration form.

Step 6: Download and Install Plesk Panel
We register for the trial. We have the trial keys. Next, we need to download and install Plesk Control Panel on our Windows Server 2016. To download the Plesk Installer visit at https://page.plesk.com/plesk-onyx-free-download. Scroll down and download the Plesk Installer in interactive mode. You have other options too, but we will use interactive mode to install Plesk panel. Download the installer and launch it. If the user account control asks for your permission to install the Plesk panel, click on the Yes button to continue.
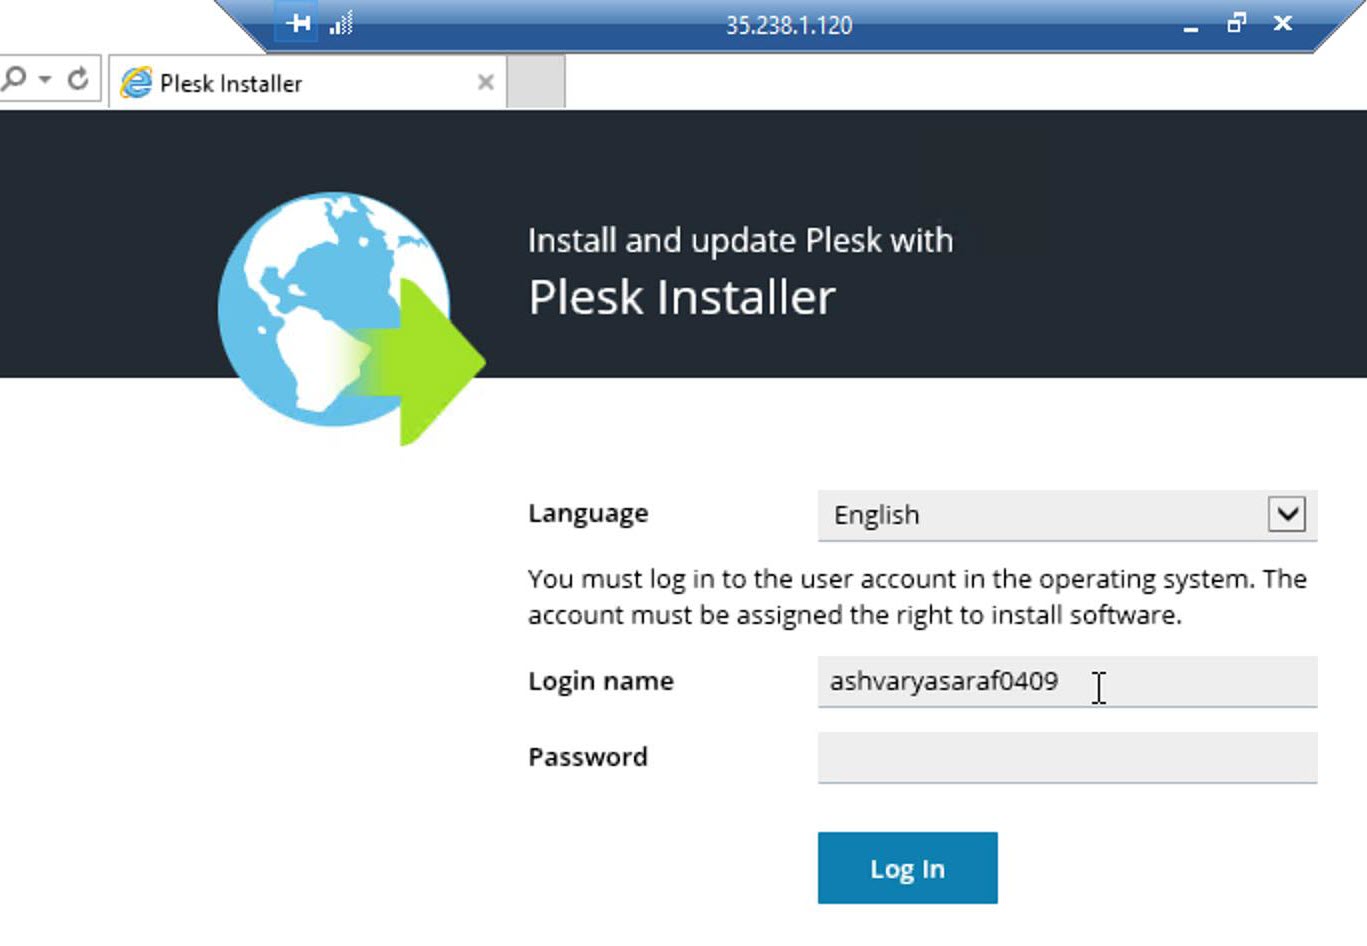
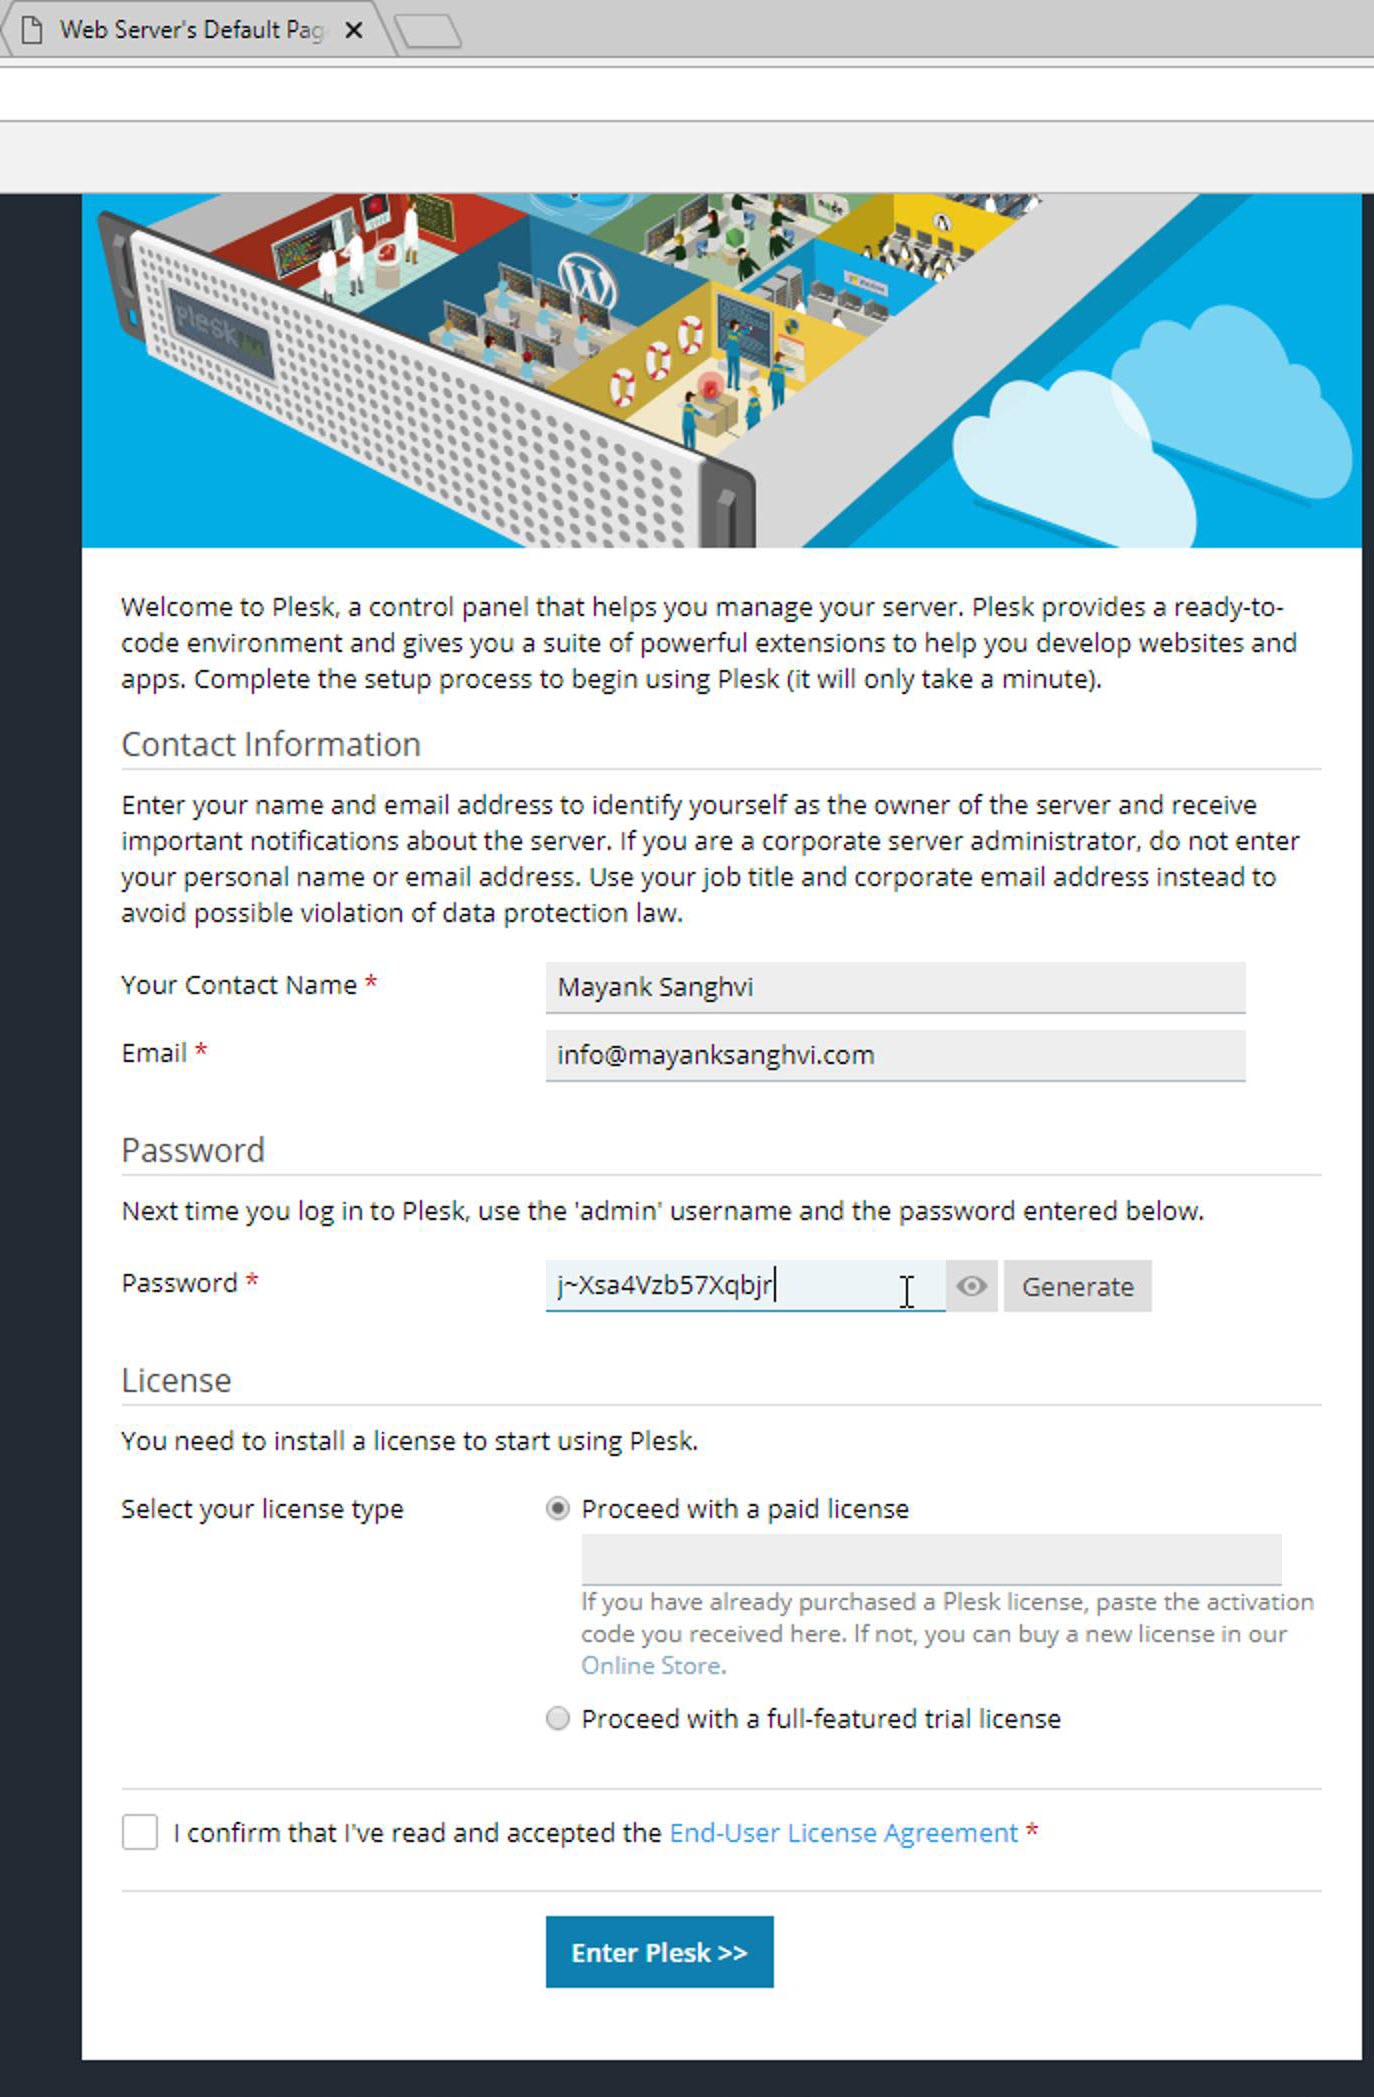
After this, the Plesk panel installer opens the Internet Explorer. First, we need to provide the admin user account details. Enter the password for the account.
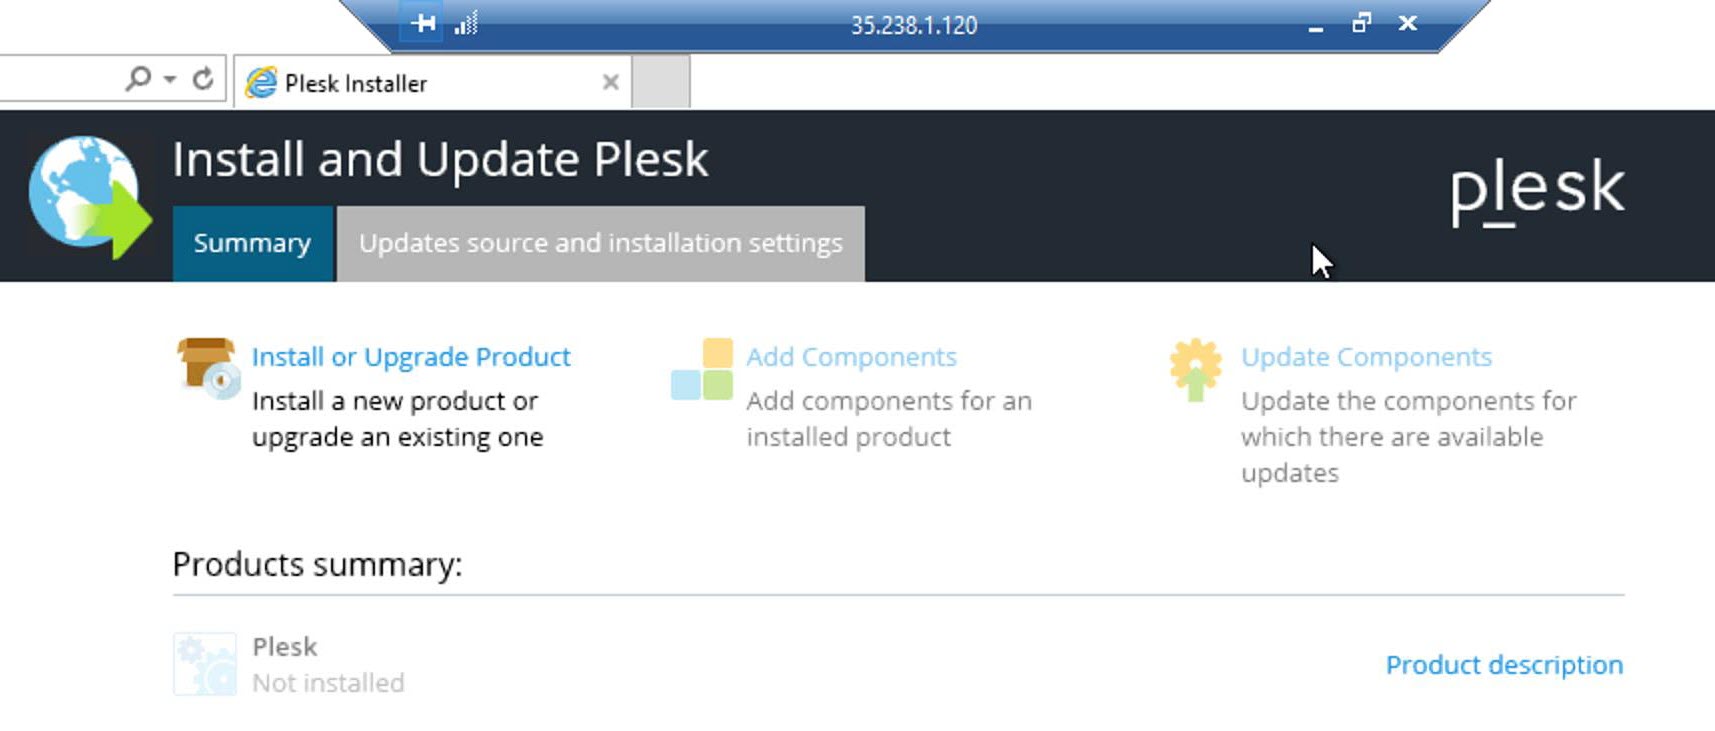
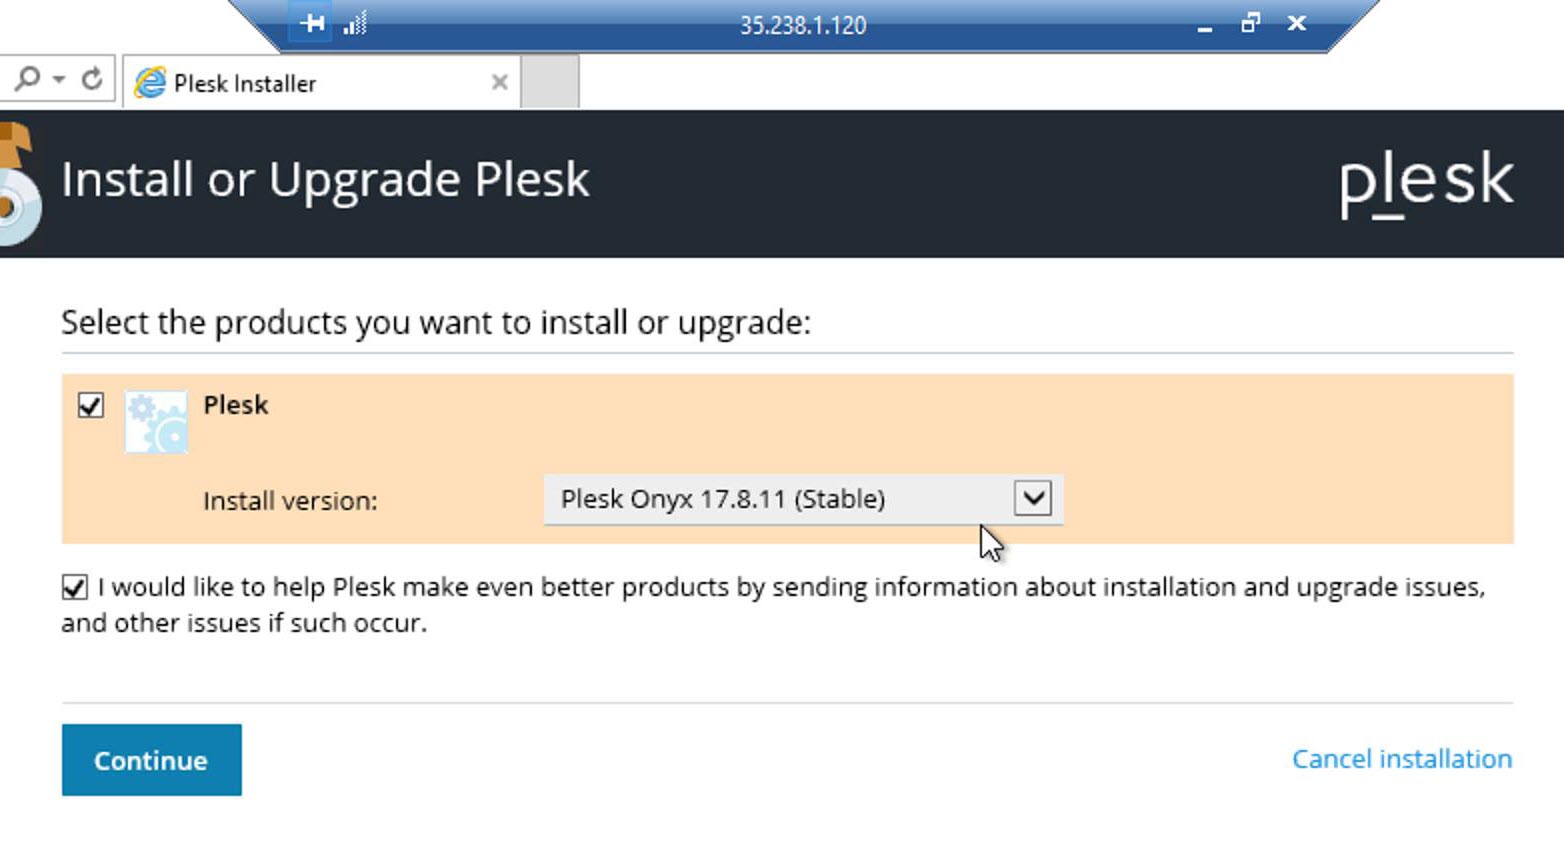
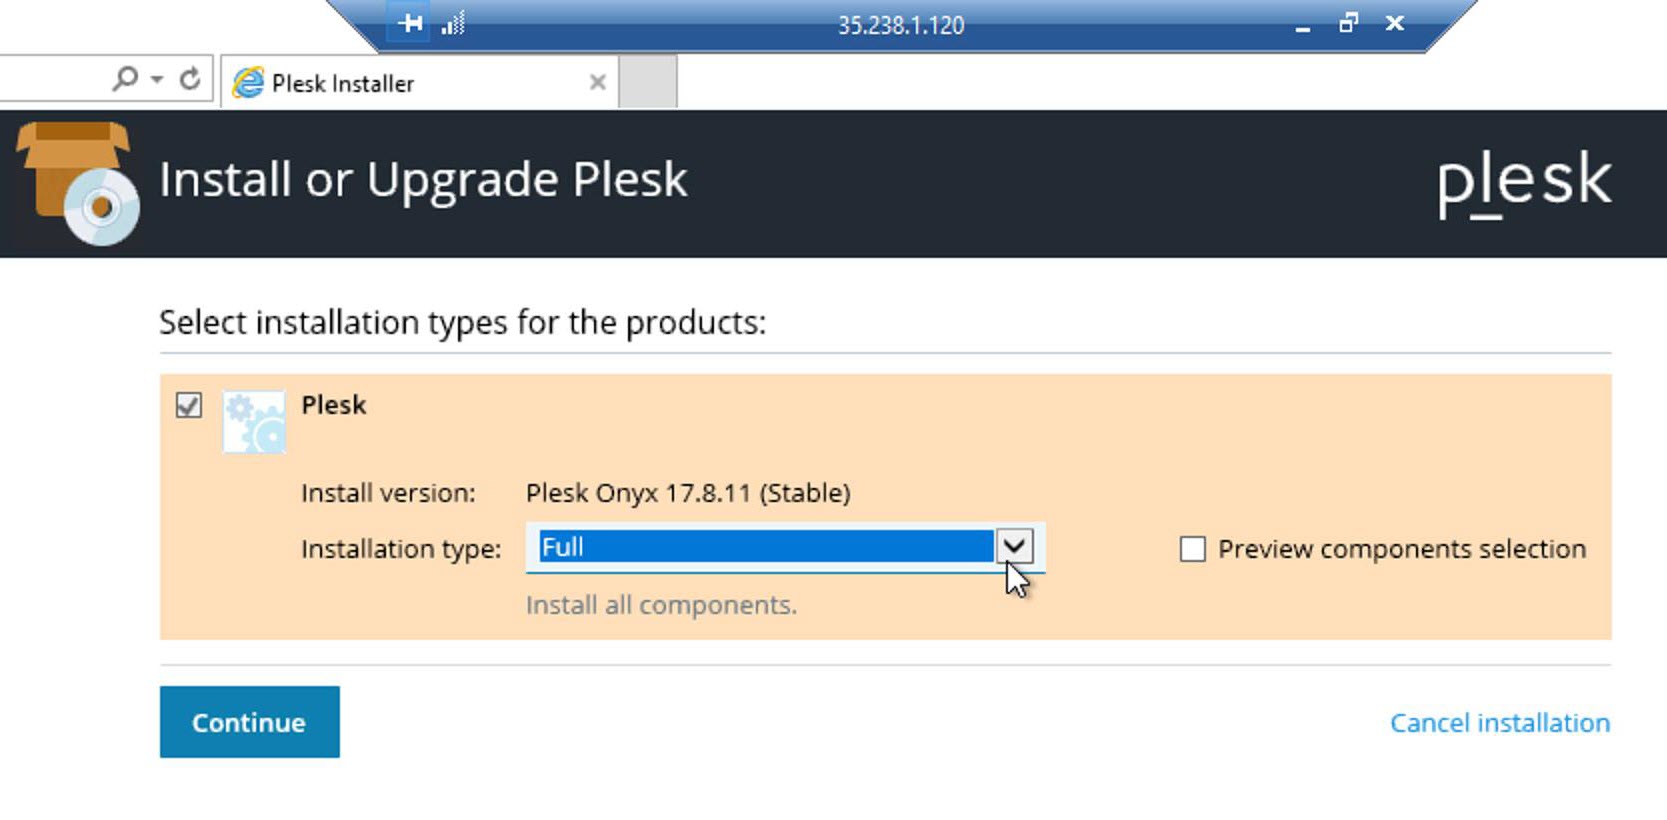
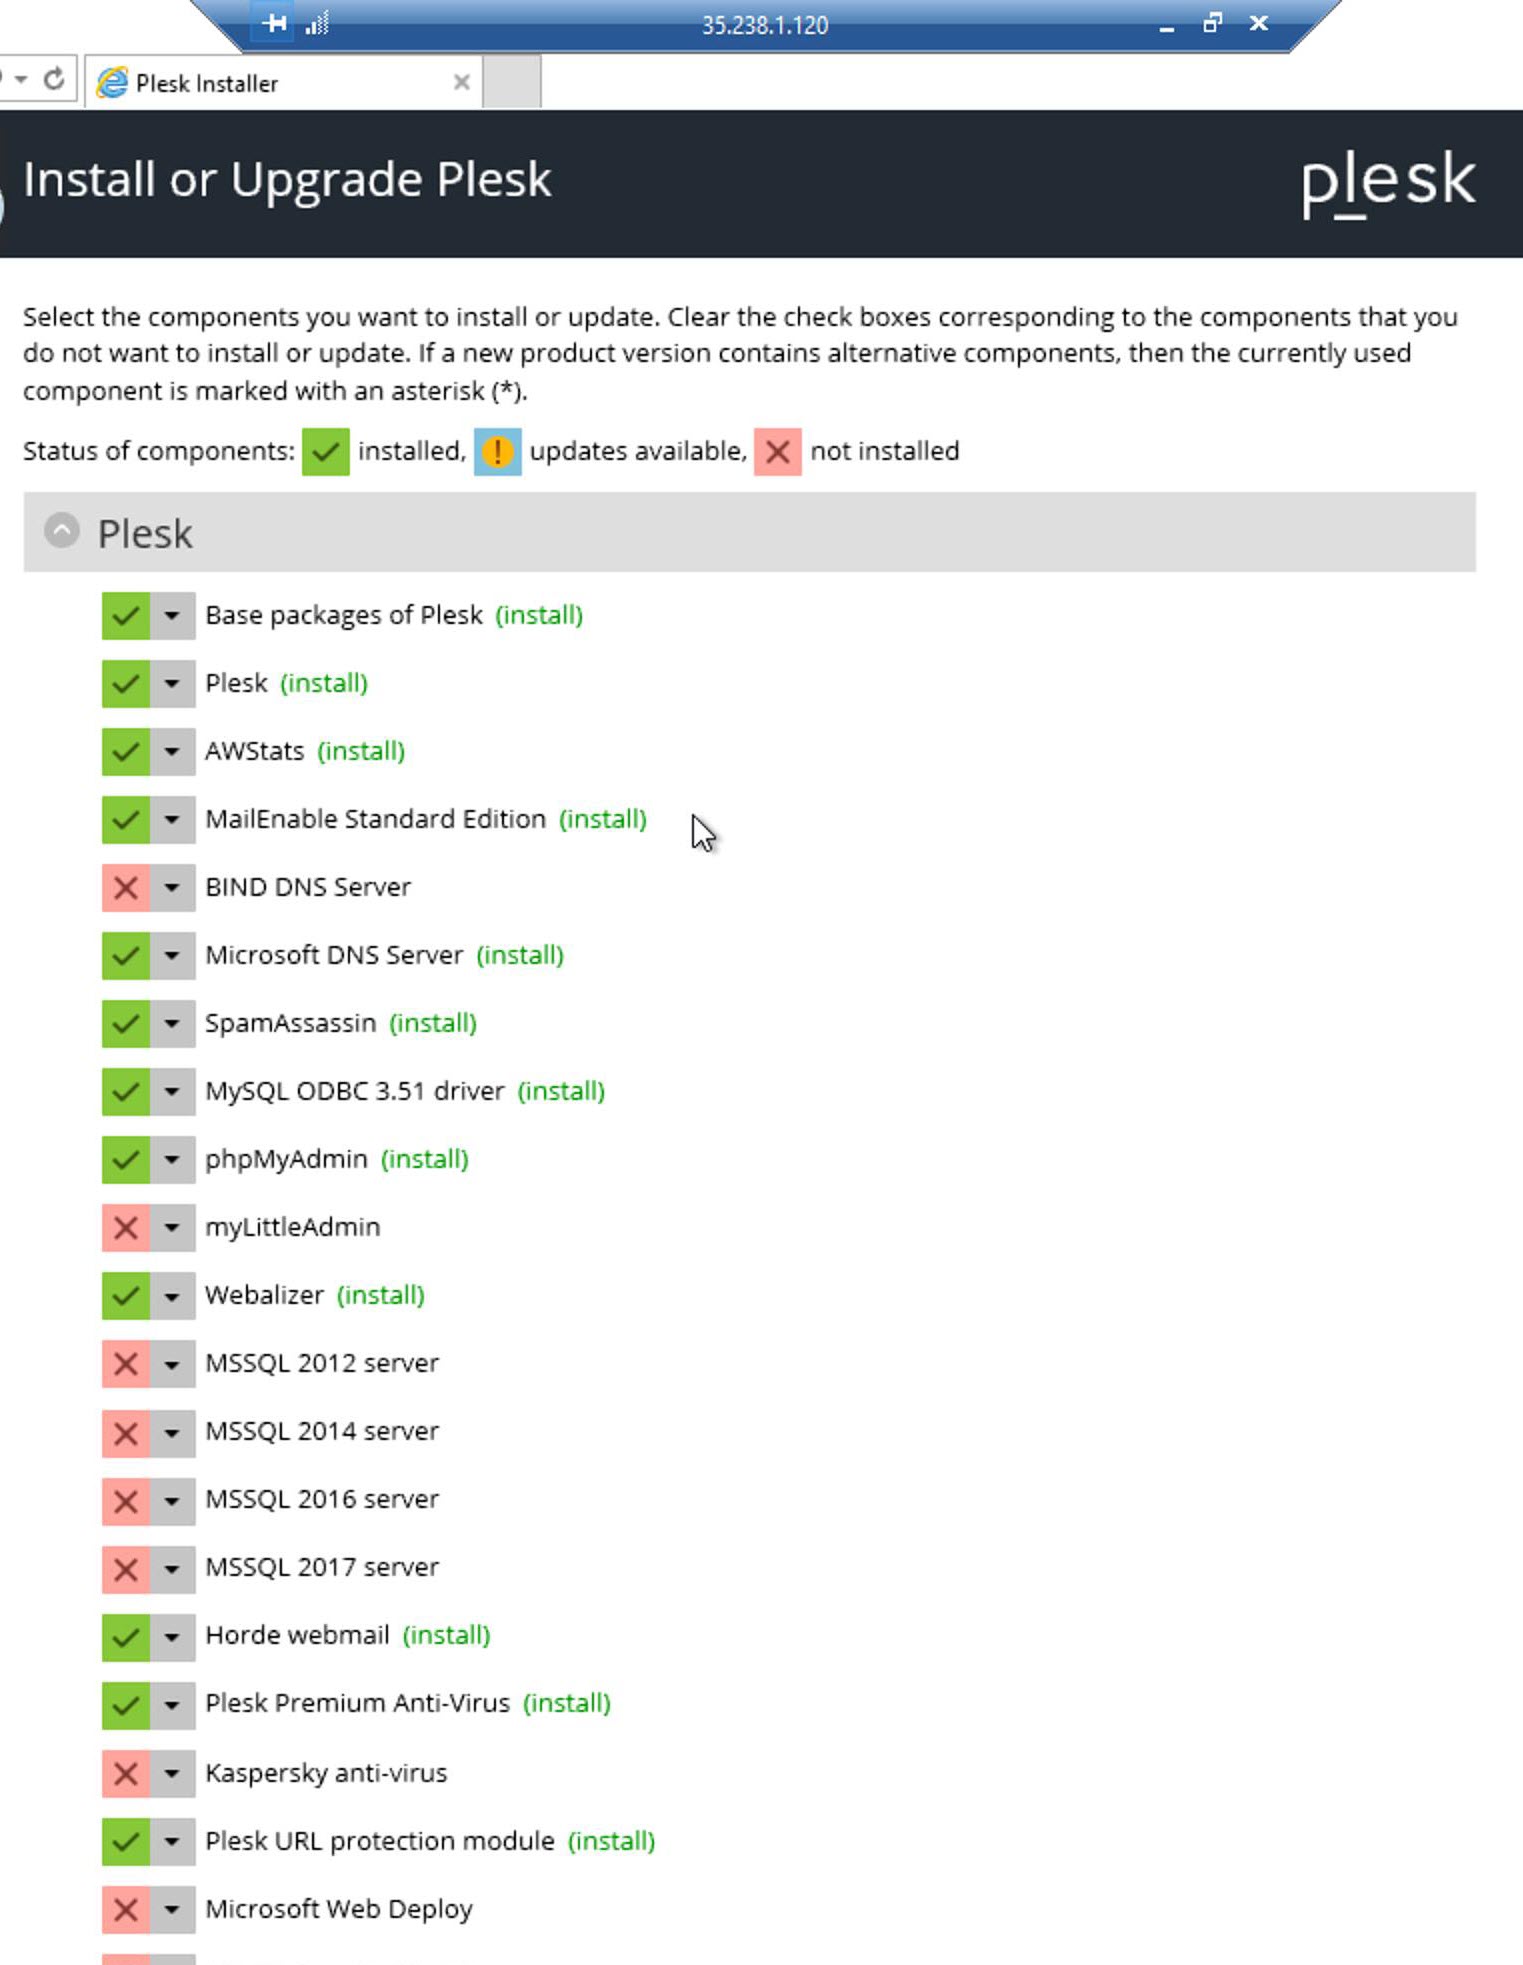
Component Selection Page: On this page we need to select the components we need to install. We are installing almost everything, for our demo, we selected the following additional components
- SQL Server 2017
- Node.js
- myLittleAdmin
- Kaspersky Anti-Virus
- .net Core
- Asp .net Core
Once the component selection is down clicked on Continue for the next options.
On the next page, we need to select the directories. In our Google Cloud Compute engine Windows Server 2016 VM we only have one drive. Because of this, we are not changing the default locations. If you have multiple drives, feel free to use your desired location. On the same page, in the end, we need to provide the Plesk administrator password. Once done, click on the continue button.

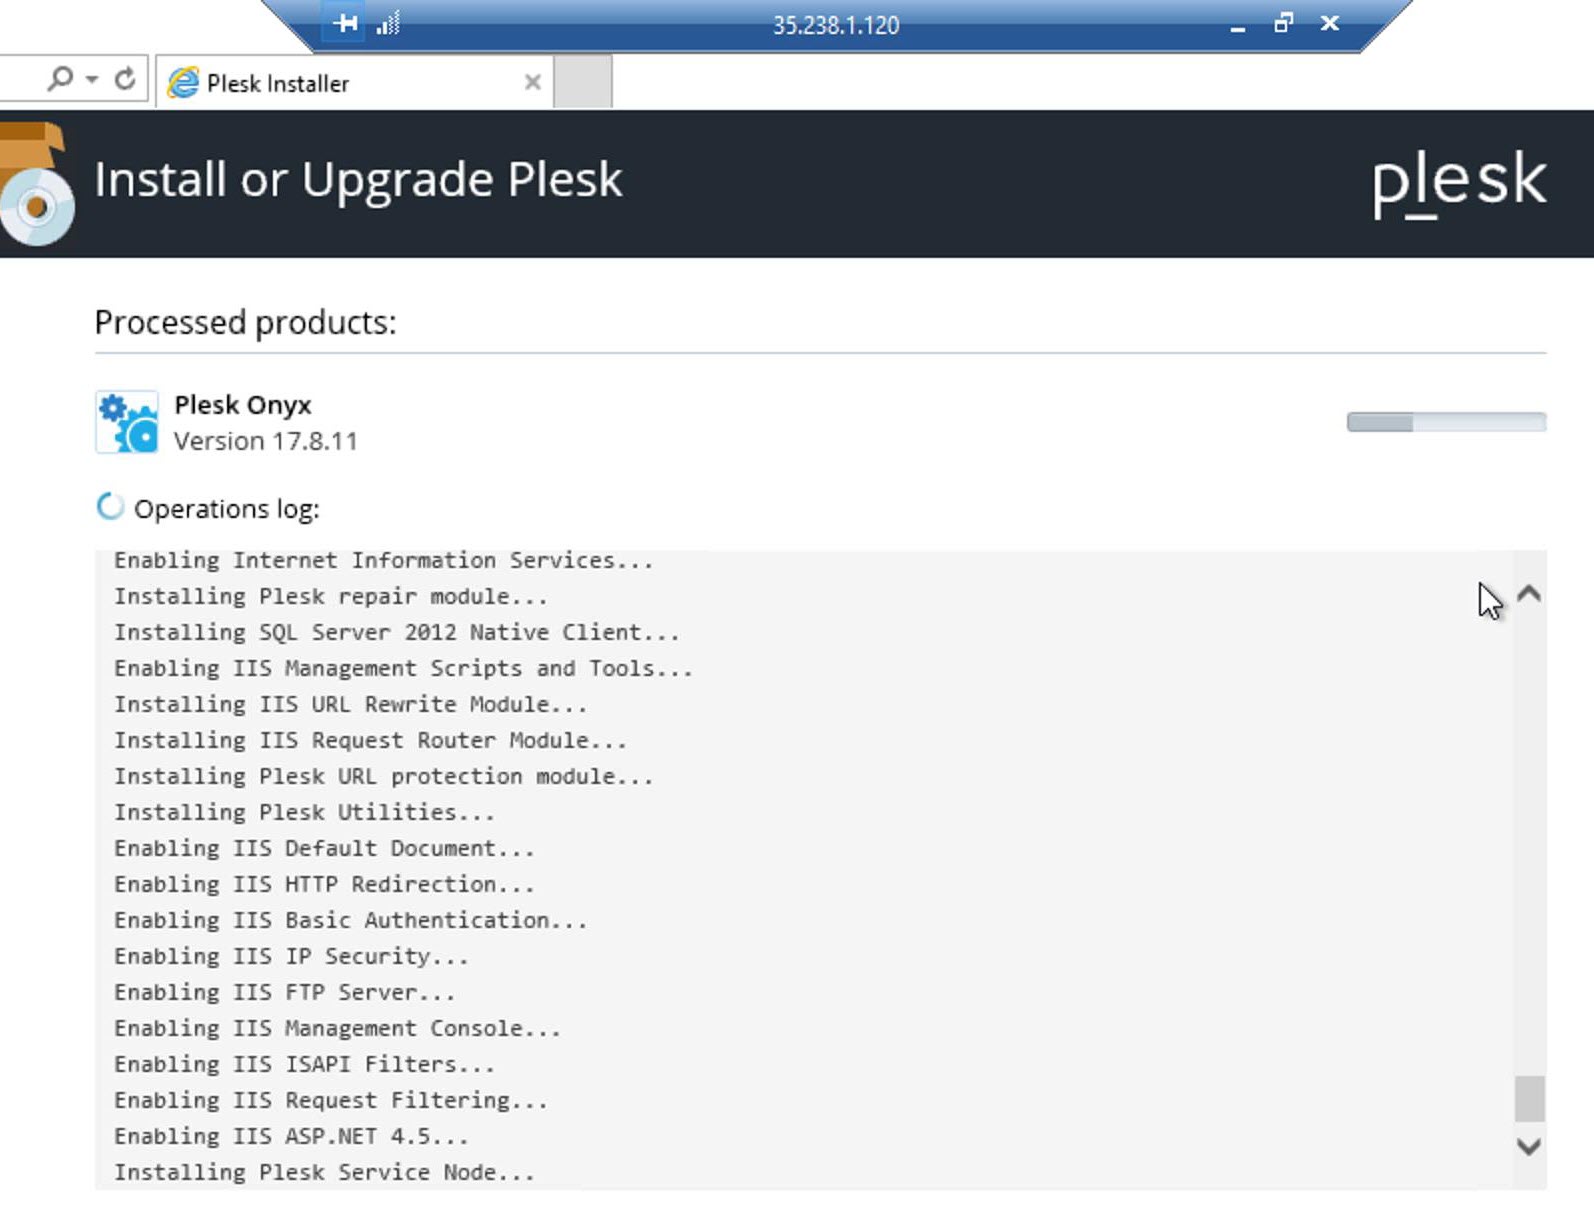
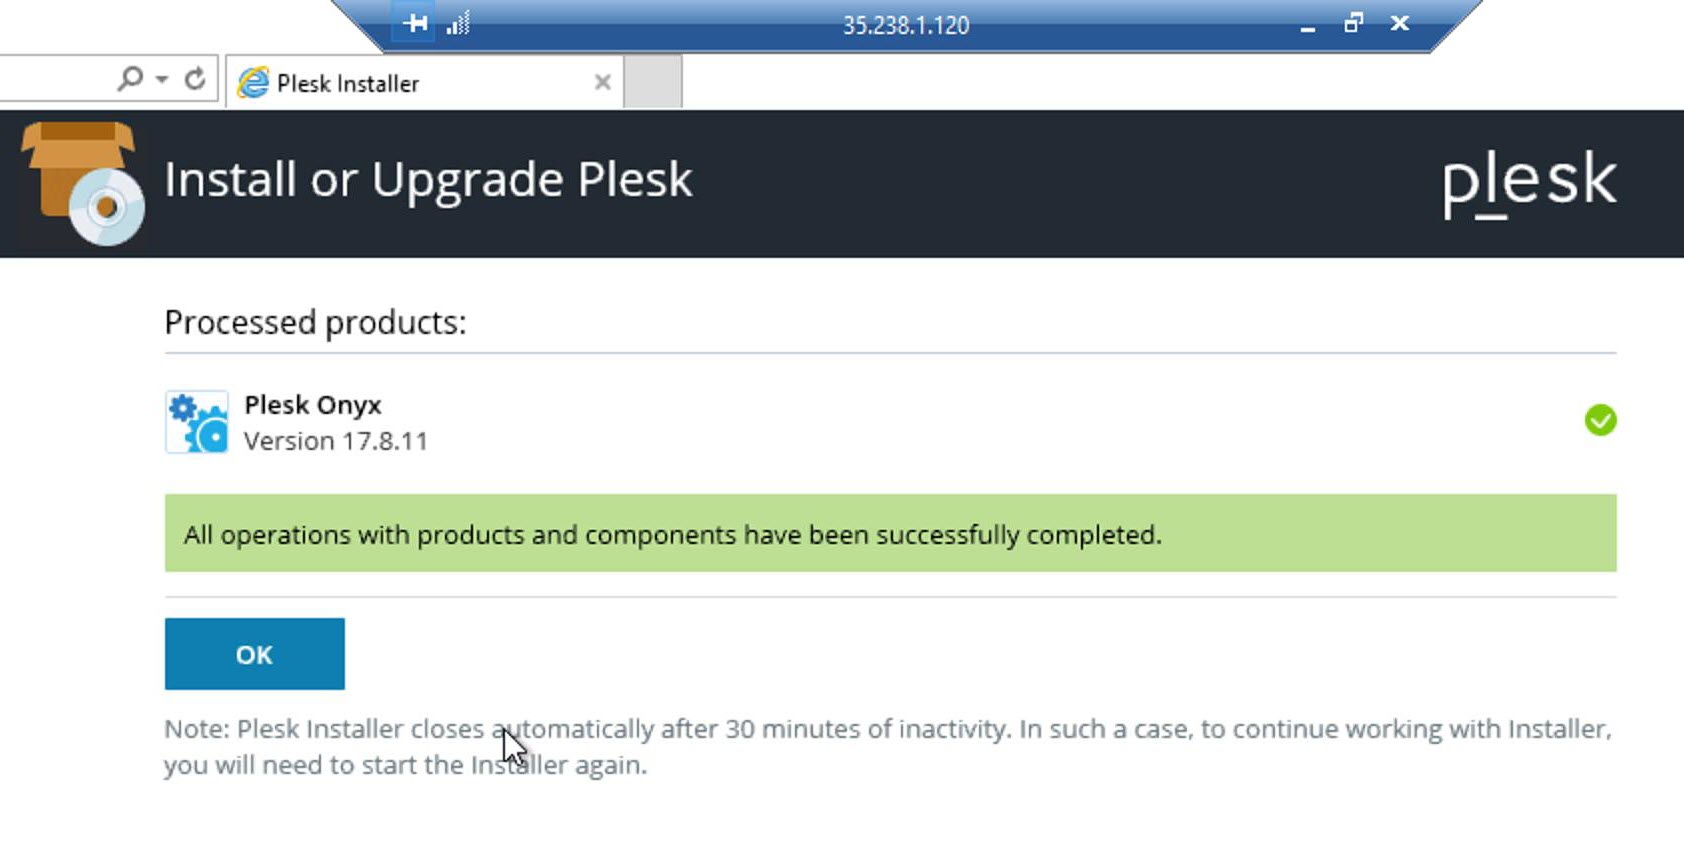
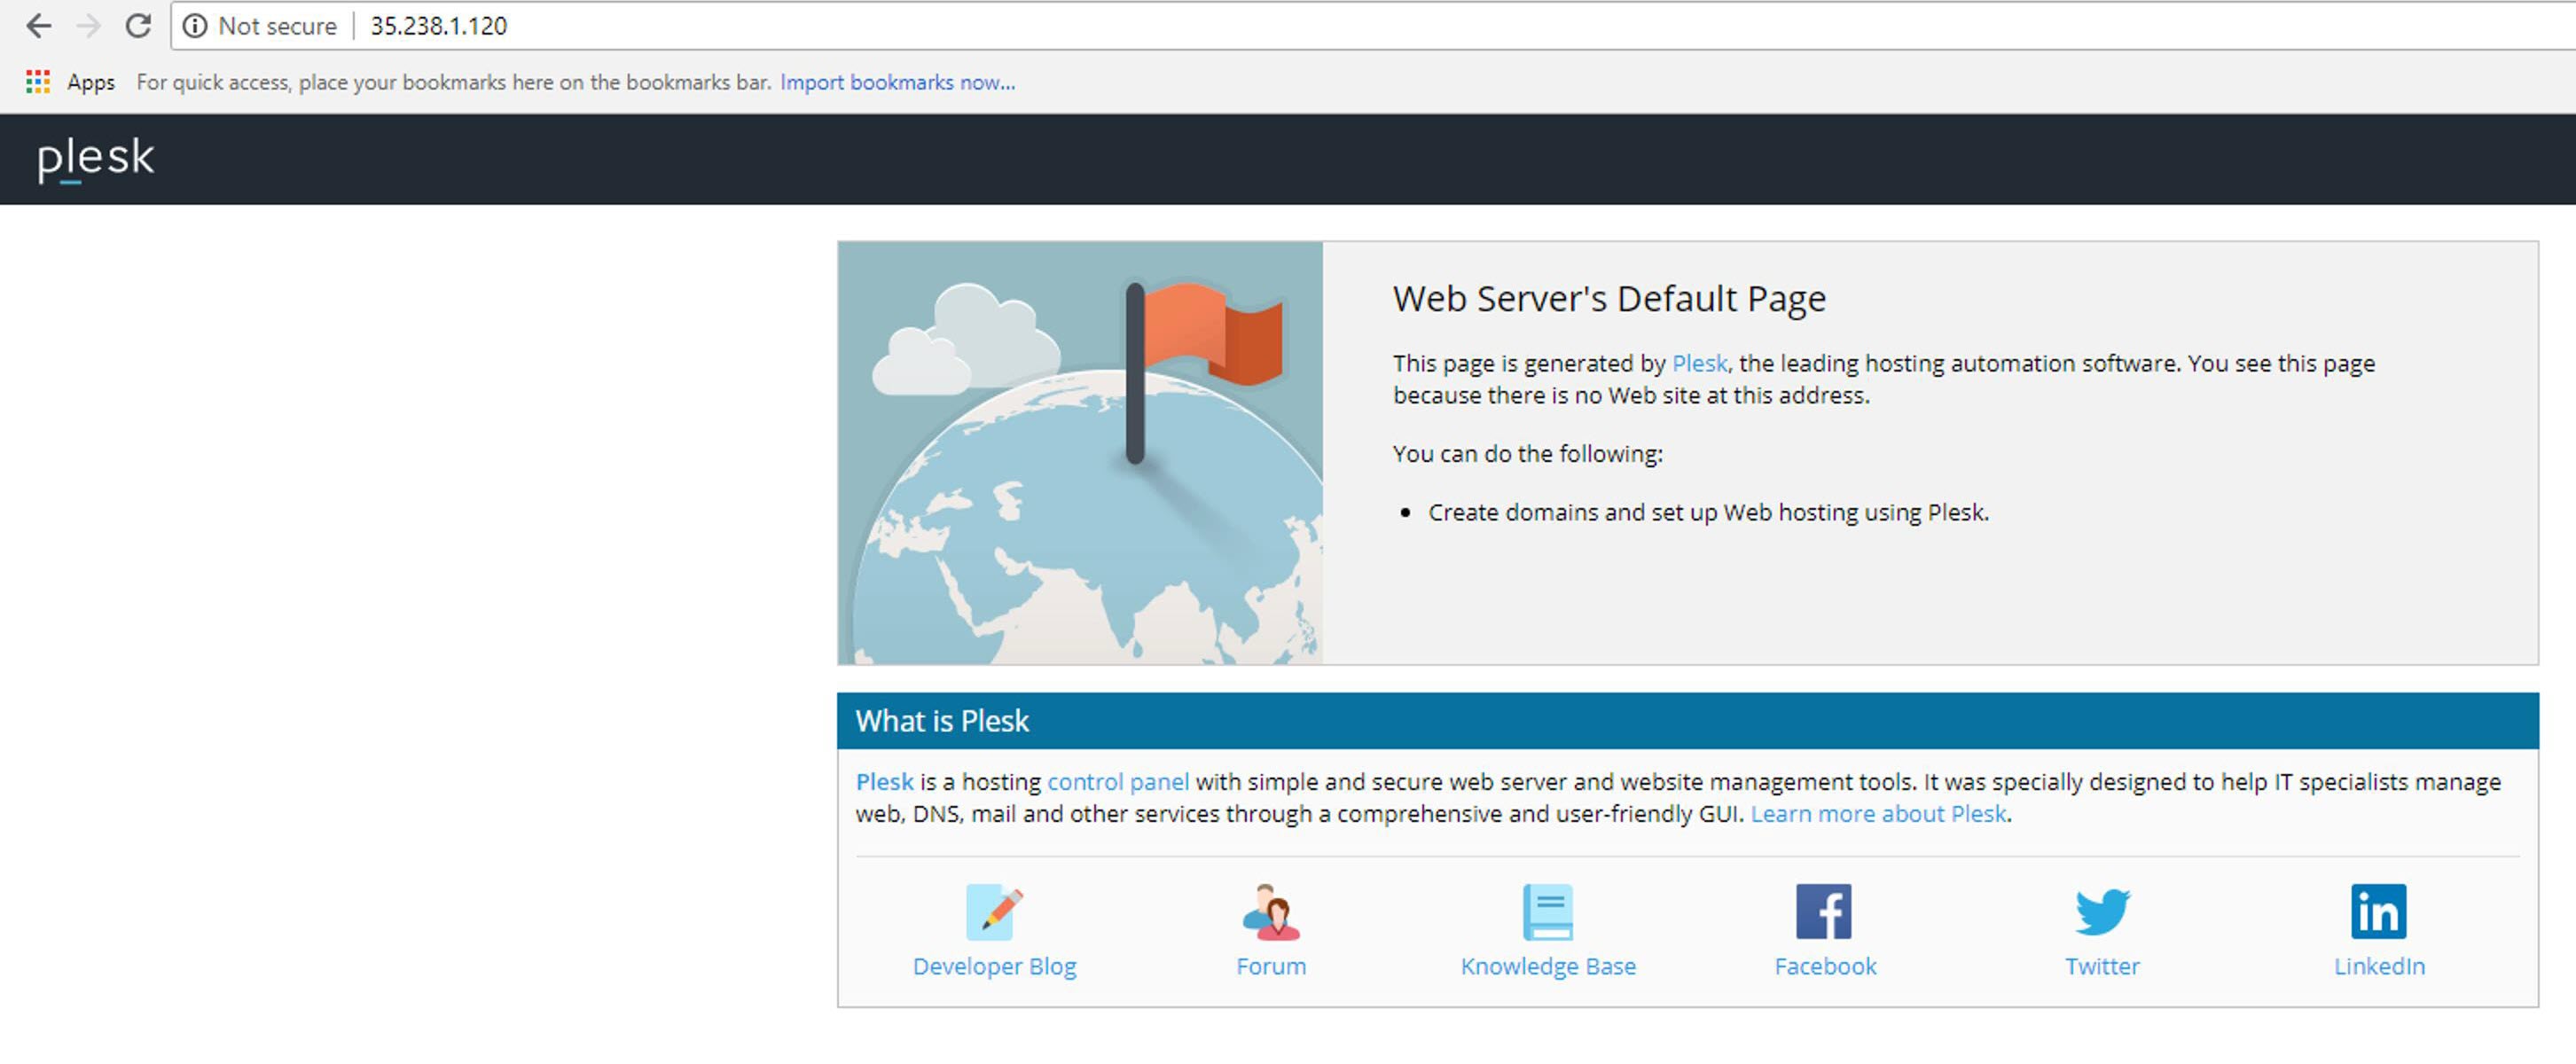

Step 7: Firewall rule for Plesk Control Panel
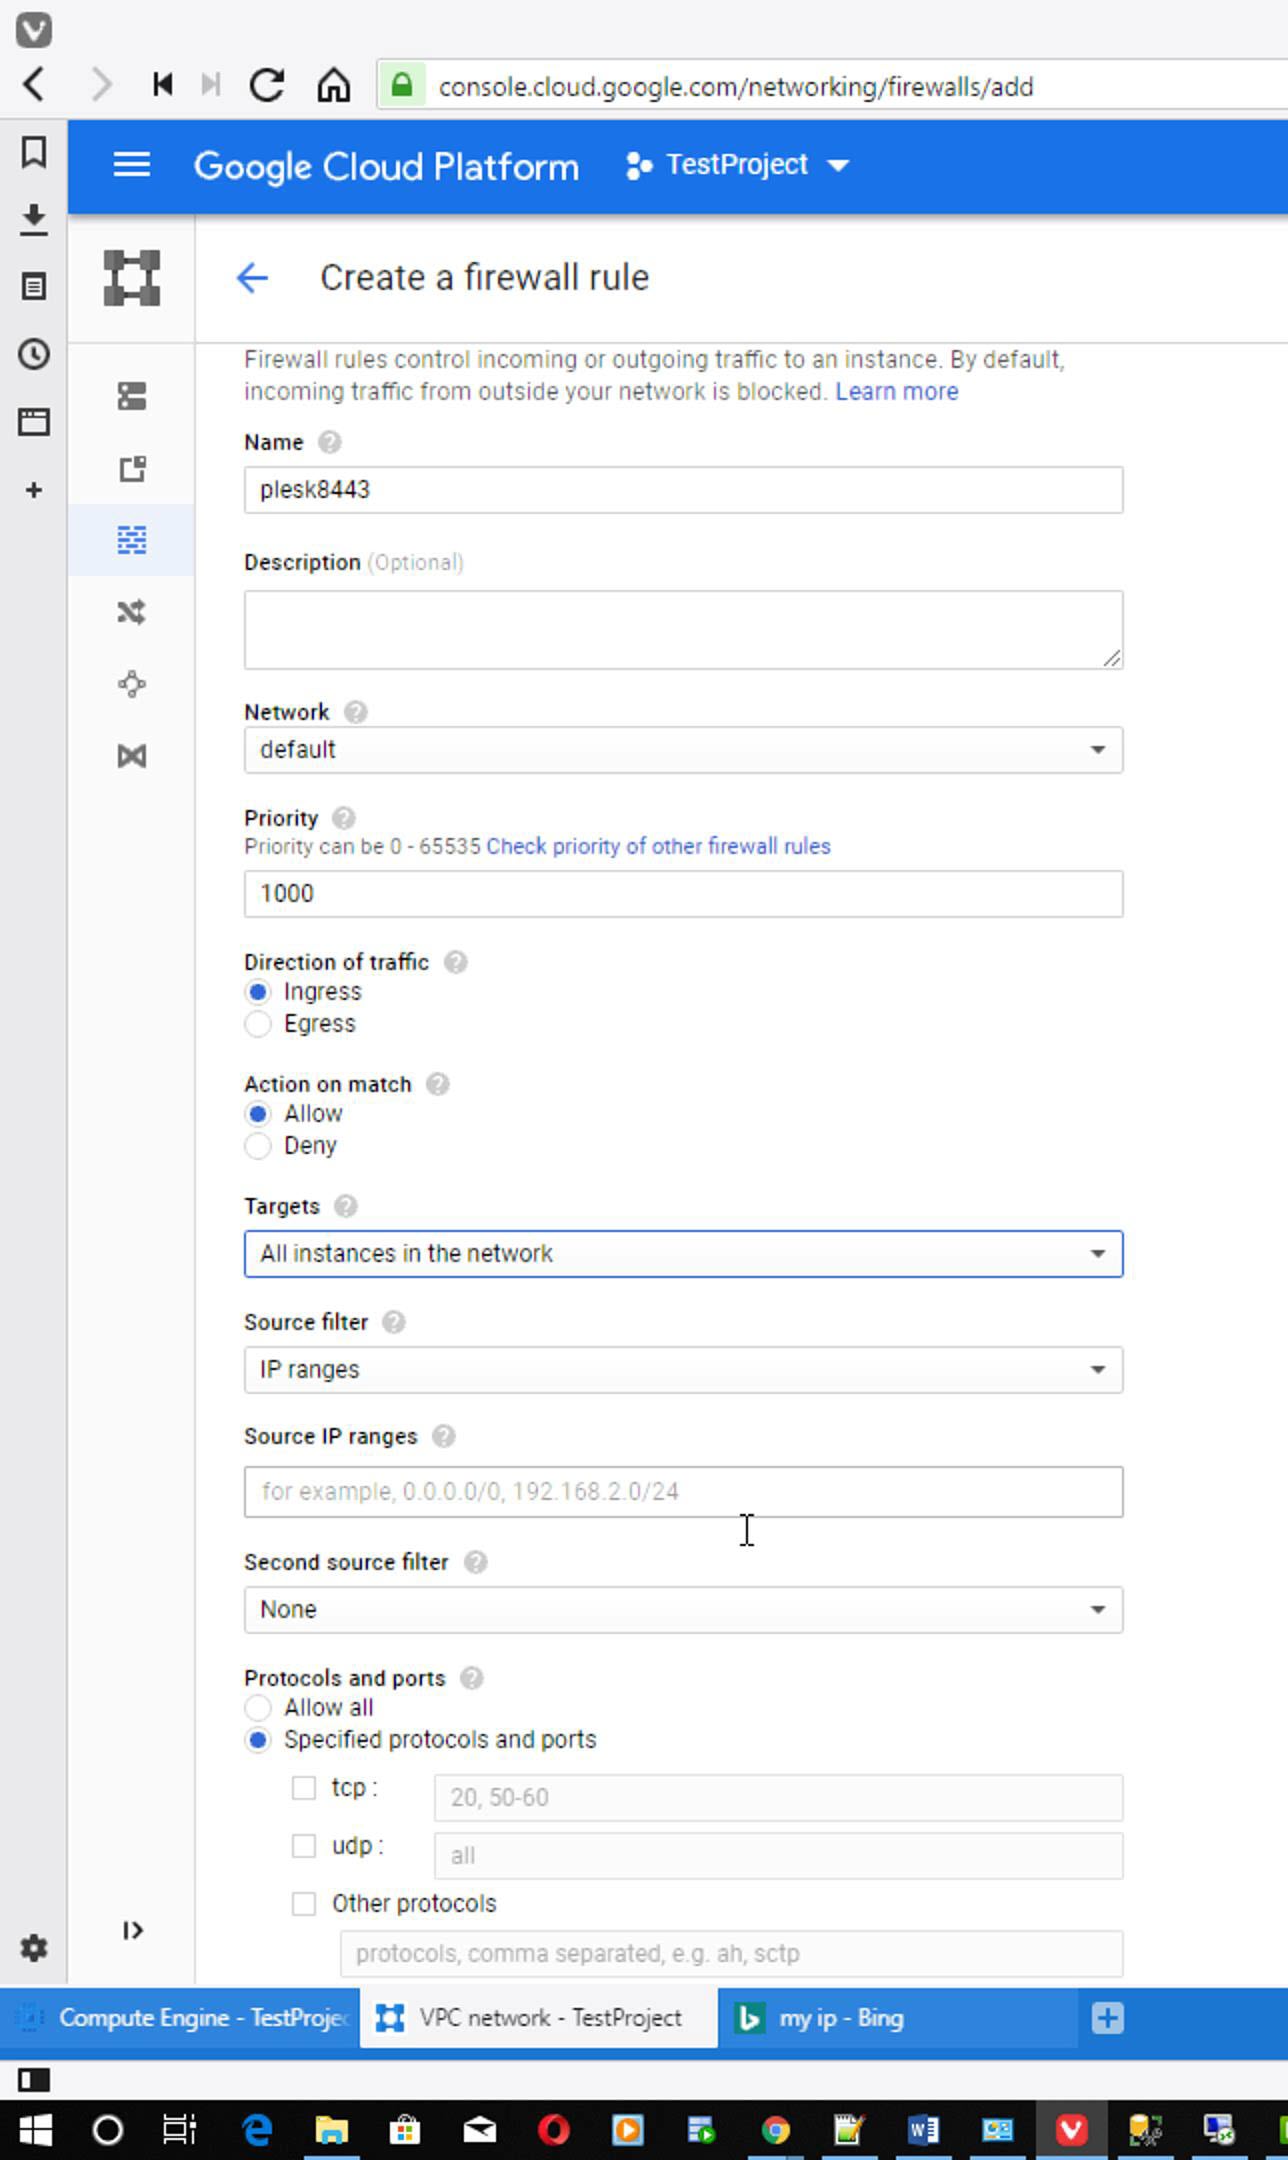
Open the firewall rules page. Create a new rule with the following information.
- Name: plesk8443 (You can use any unique name here)
- Targets: All instances in the network. (We are opening port 8443 for all the instances. You can specify a single instance also).
- Source IP range: 0.0.0.0/0
- Protocols and Ports: Specific protocols and ports > TCP to port 8443
Create the rule with the above information.
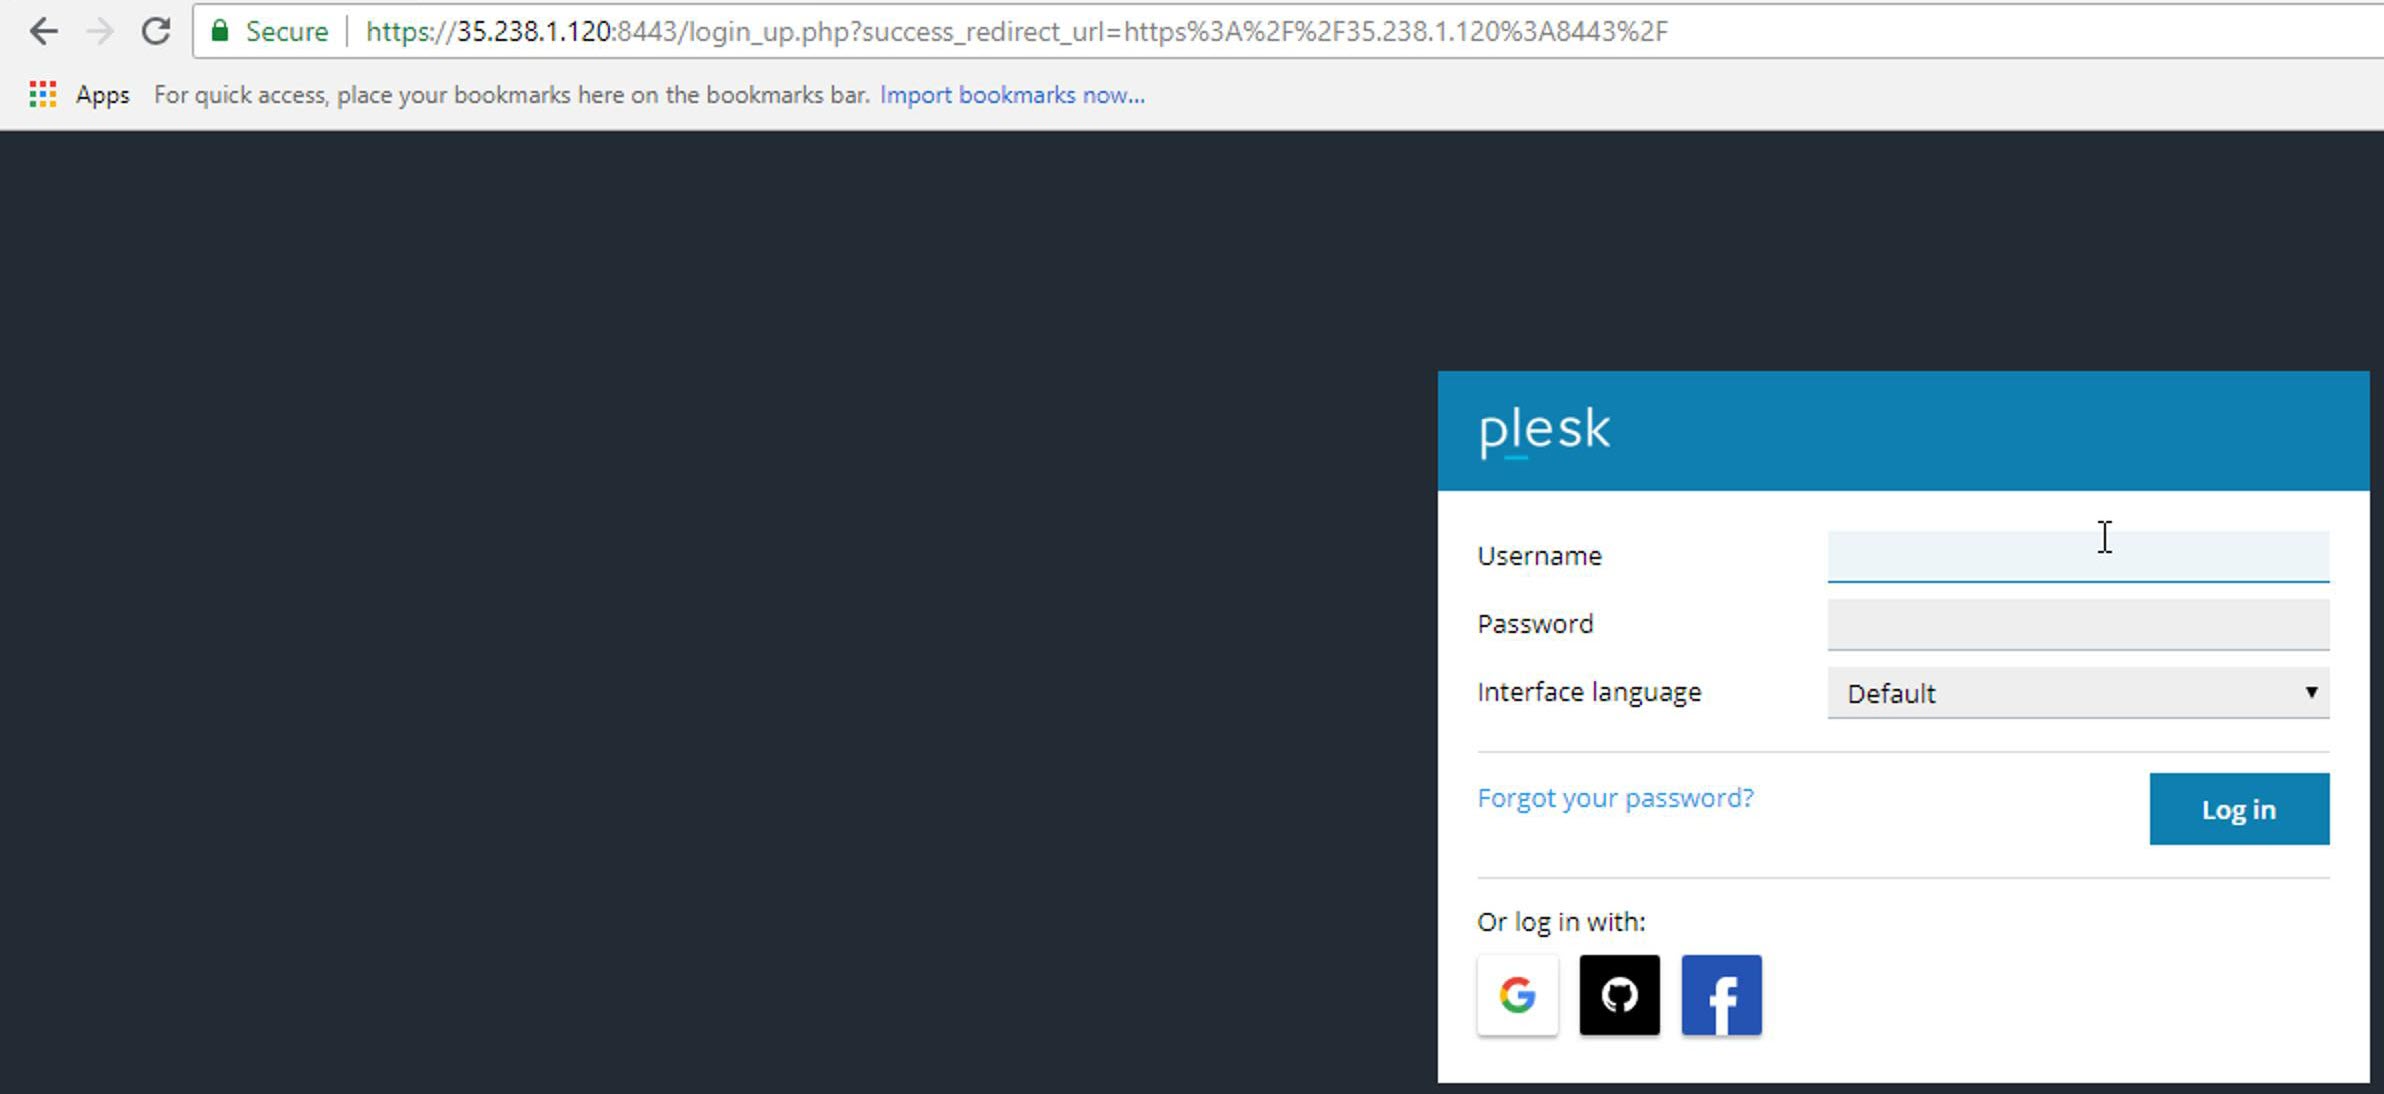
Once the firewall rule is created, try to visit the URL one more time. On visiting the URL, it is blocked due to invalid SSL certificates. You can see a different message based on the Antivirus installed in your machine. Simply, click on allow or "I understand the risk and wish to continue".


Step 8 Add a Domain
We are on Websites & Domains. Click on Add a Domain button to add our first domain.
Enter your domain information. We need to add vlemon.ooo. The following information is based on vlemon.ooo domain.

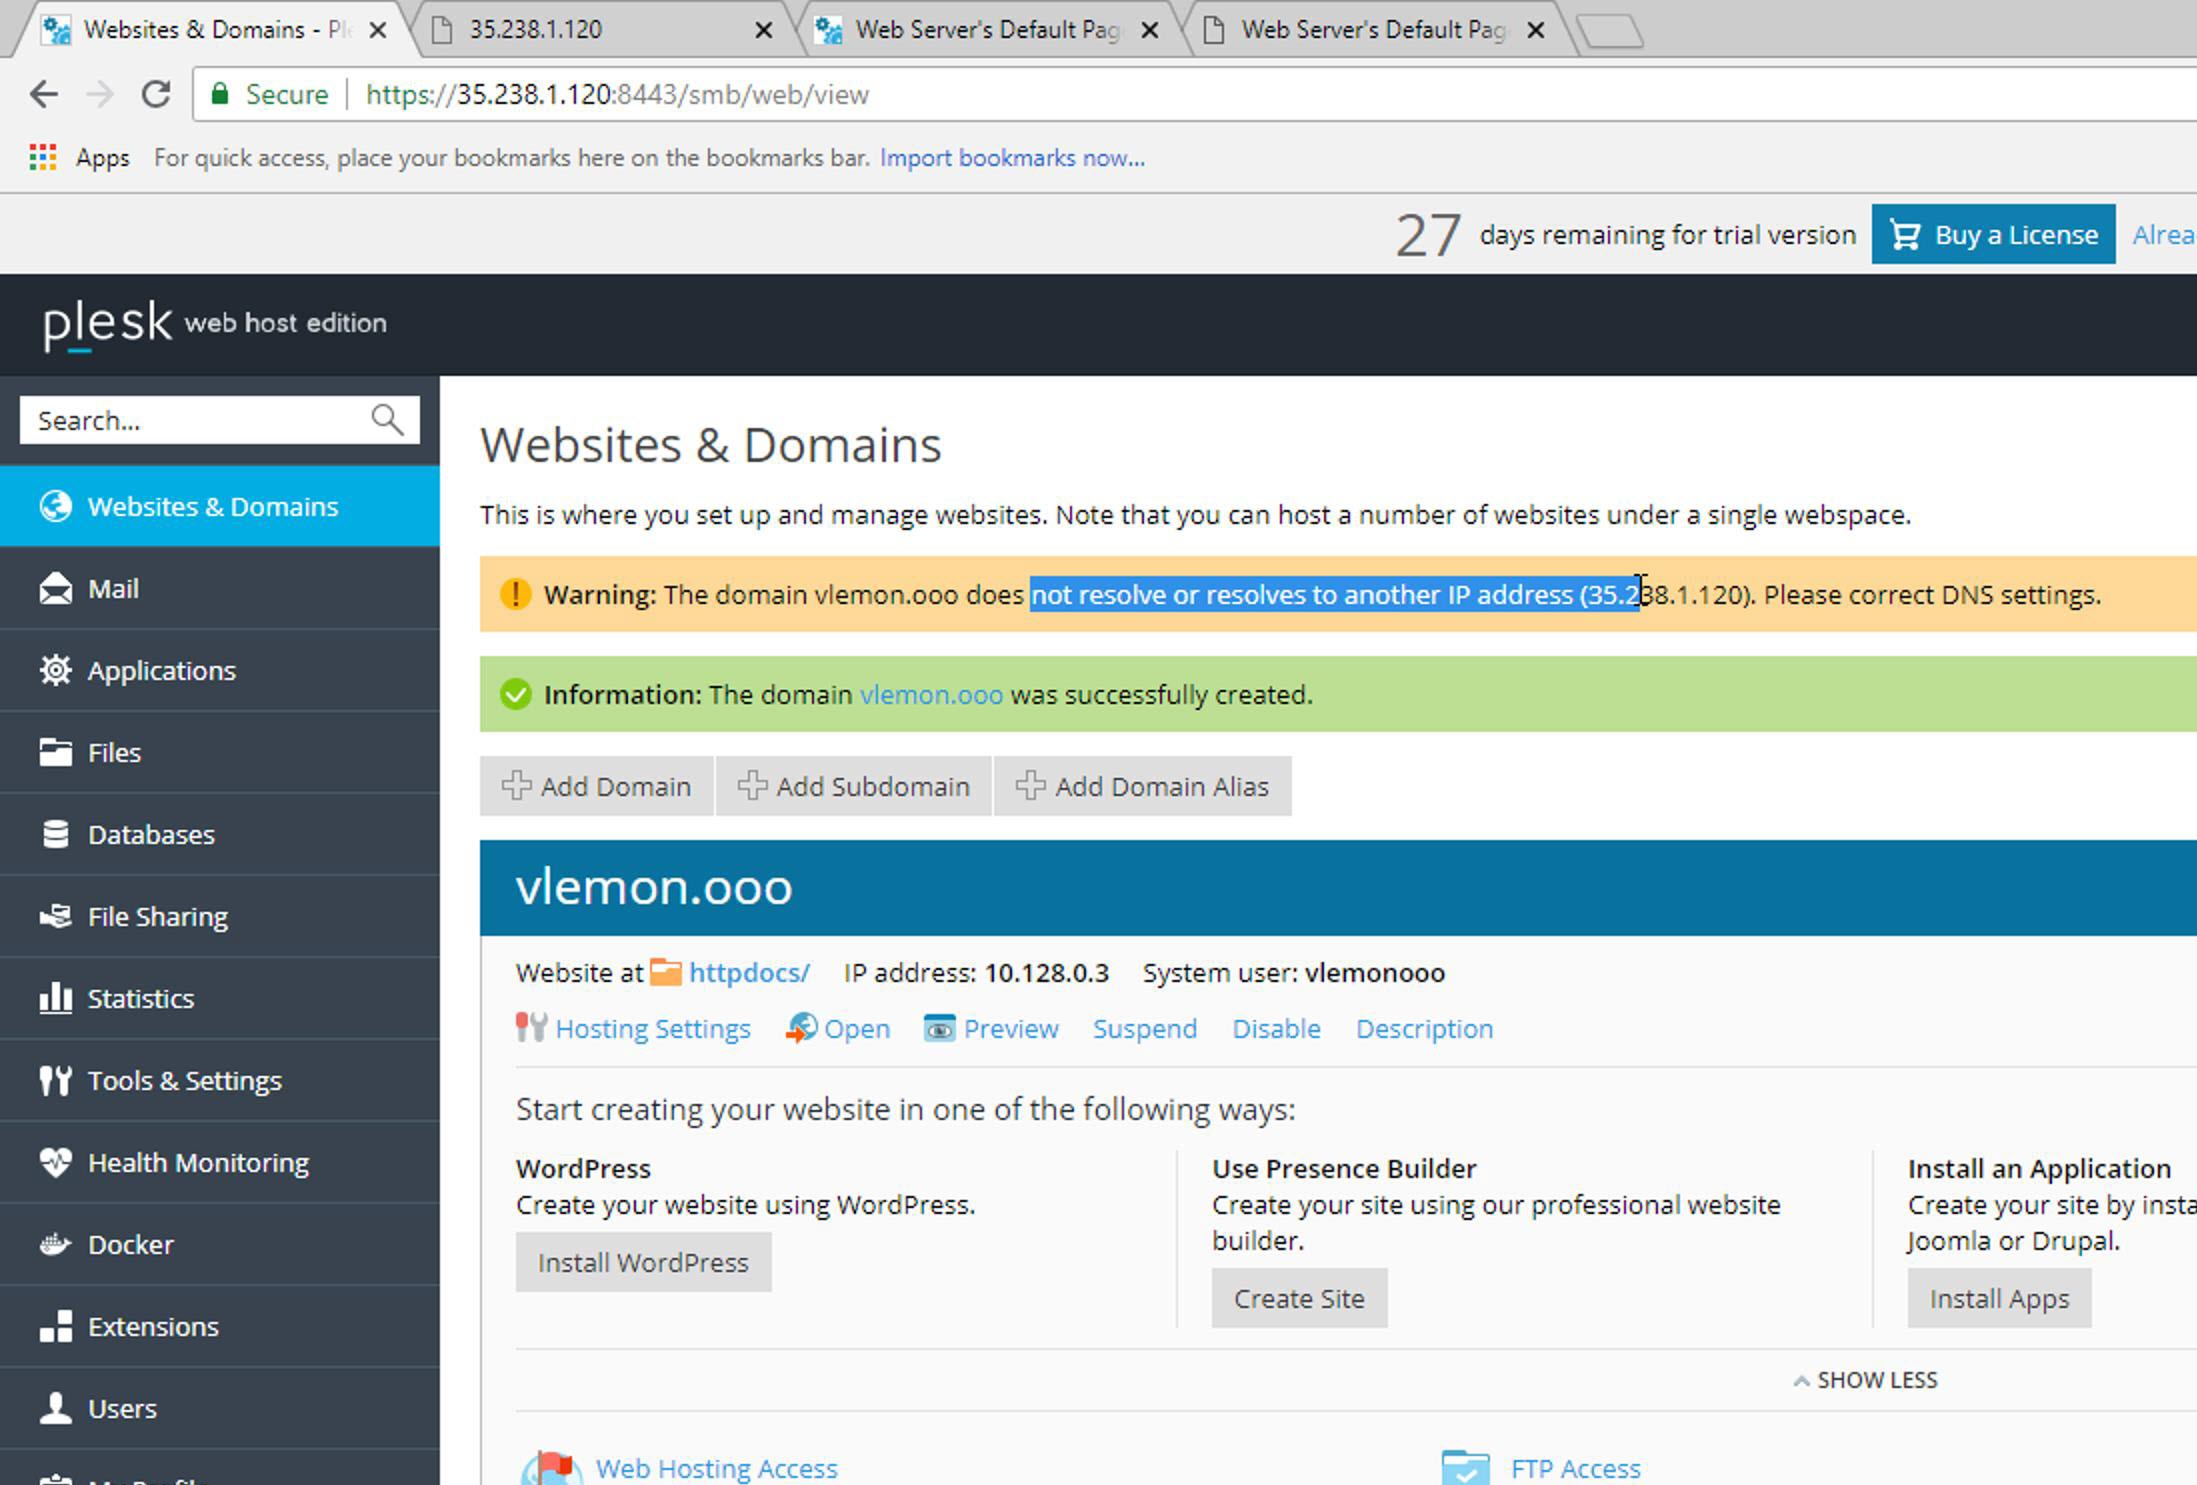
Click on Ok to add the domain. If your name servers and DNS records are not updated you will see a warning message. To resolve the issue, we need to create a DNS zone, update the name servers and add some A RECORD for our domain. You can refer this article How to map a Domain with Google Cloud Compute Engine? It is a step-by-step guide to map a domain with Google Cloud Compute Engine.

Step 9 Sub Domains for mail, SQL Admin and Other
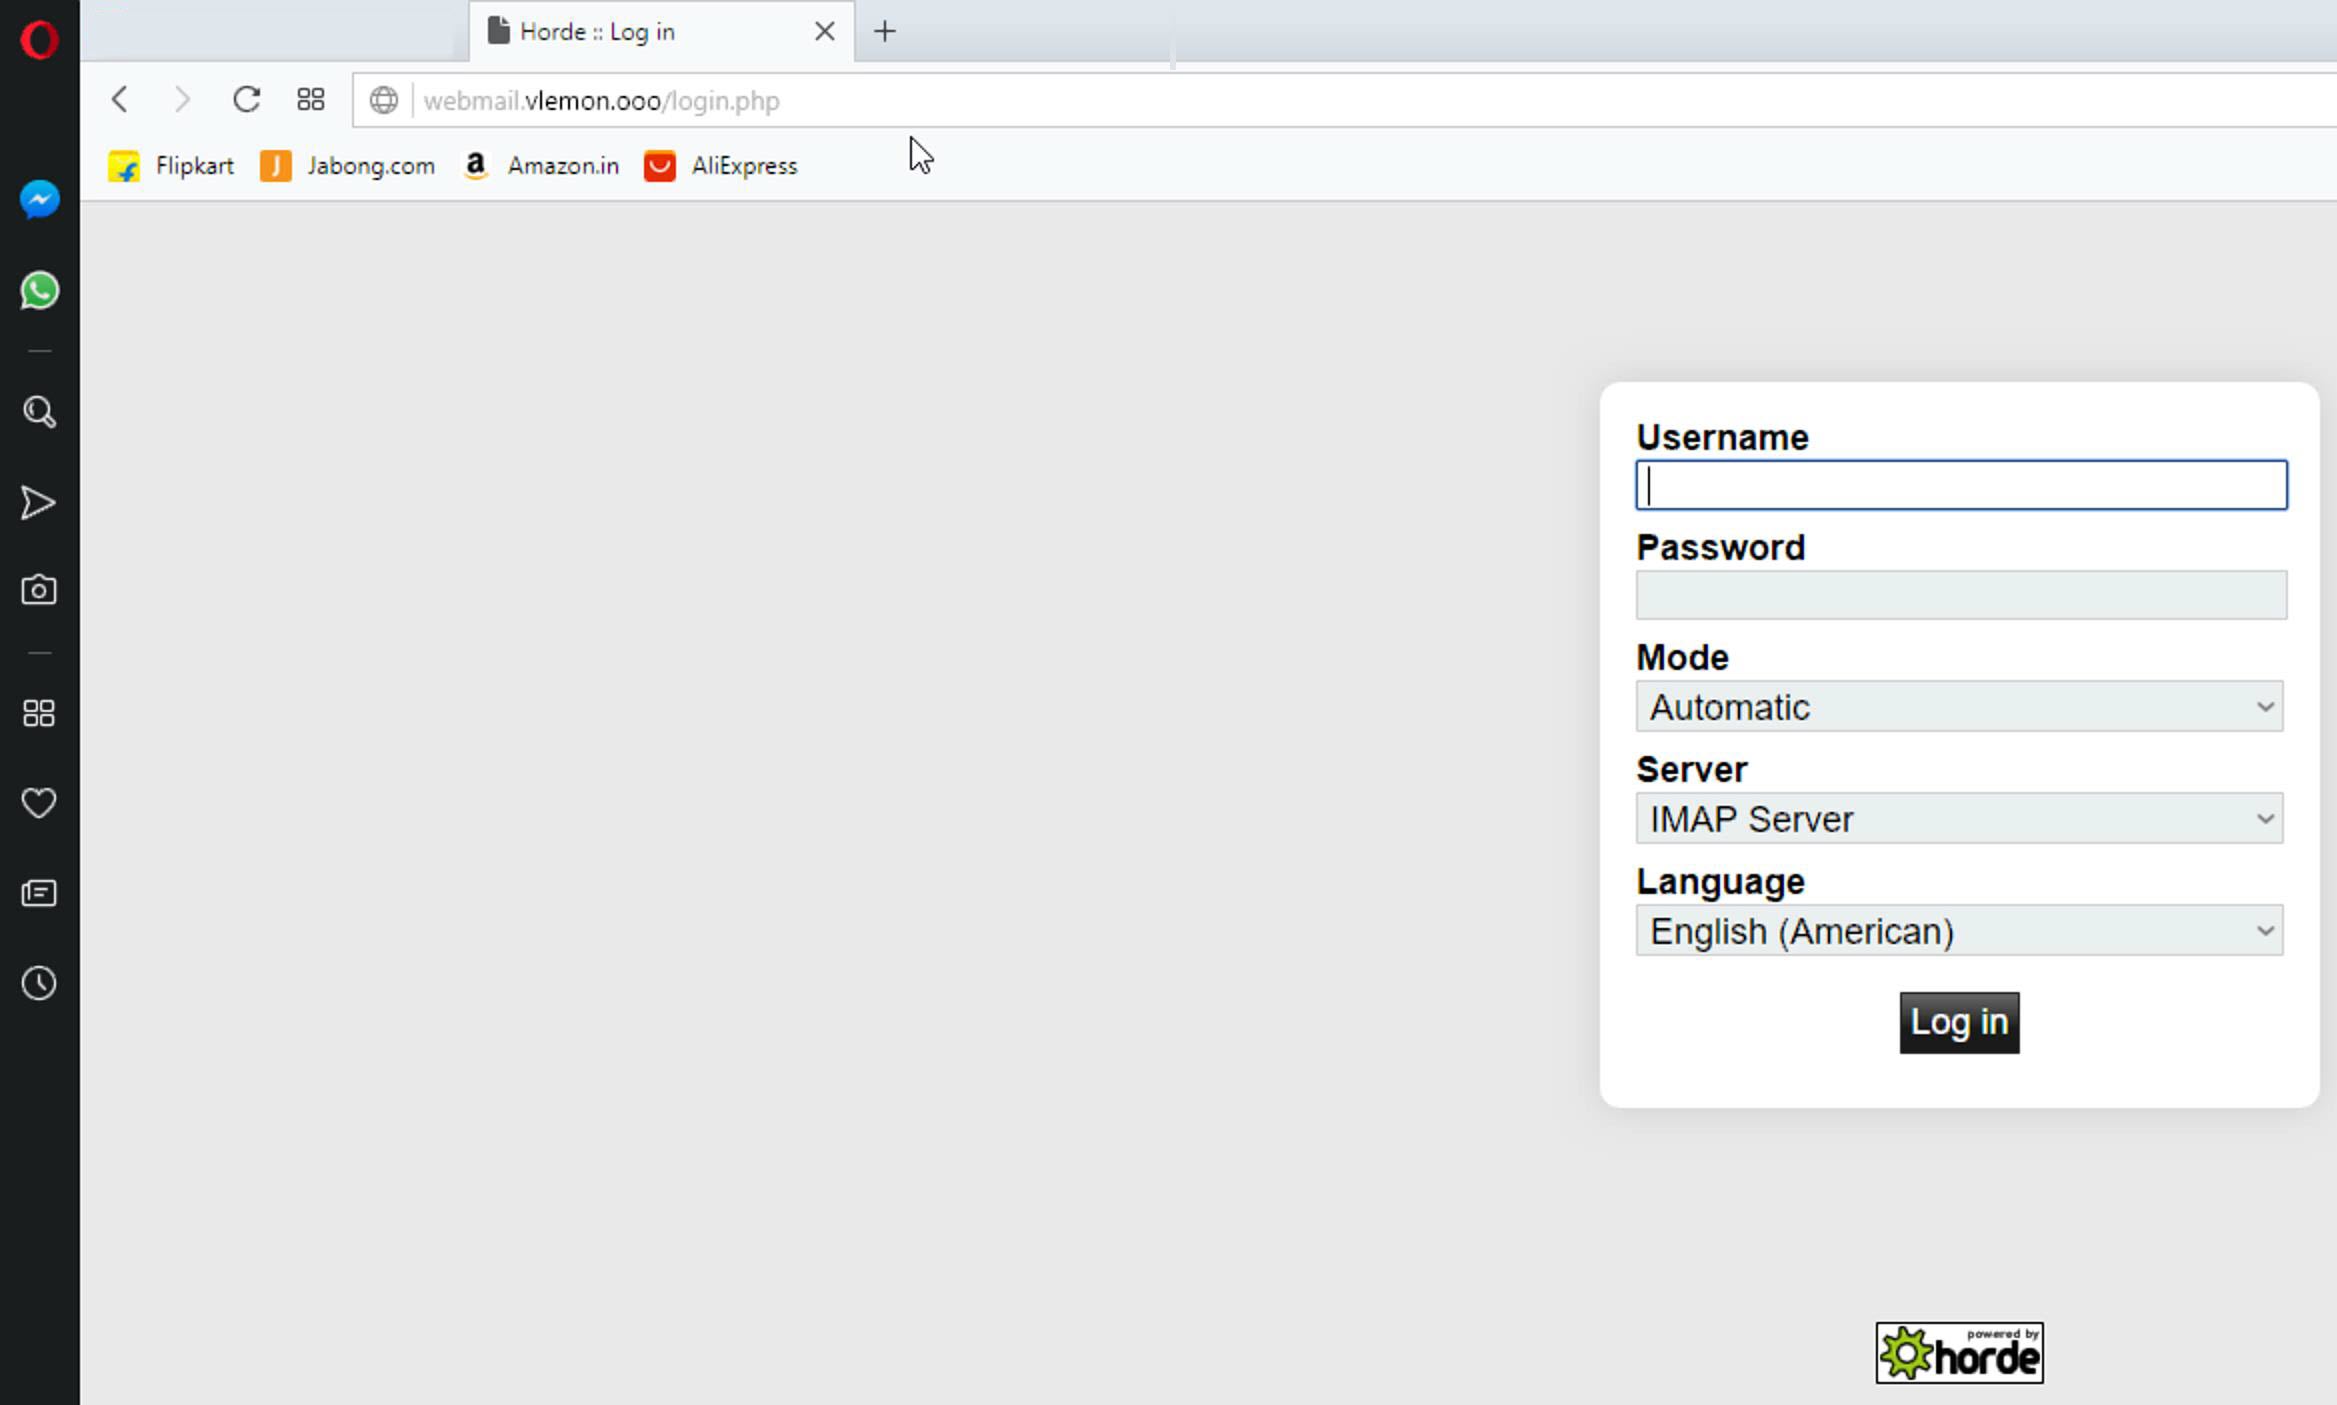
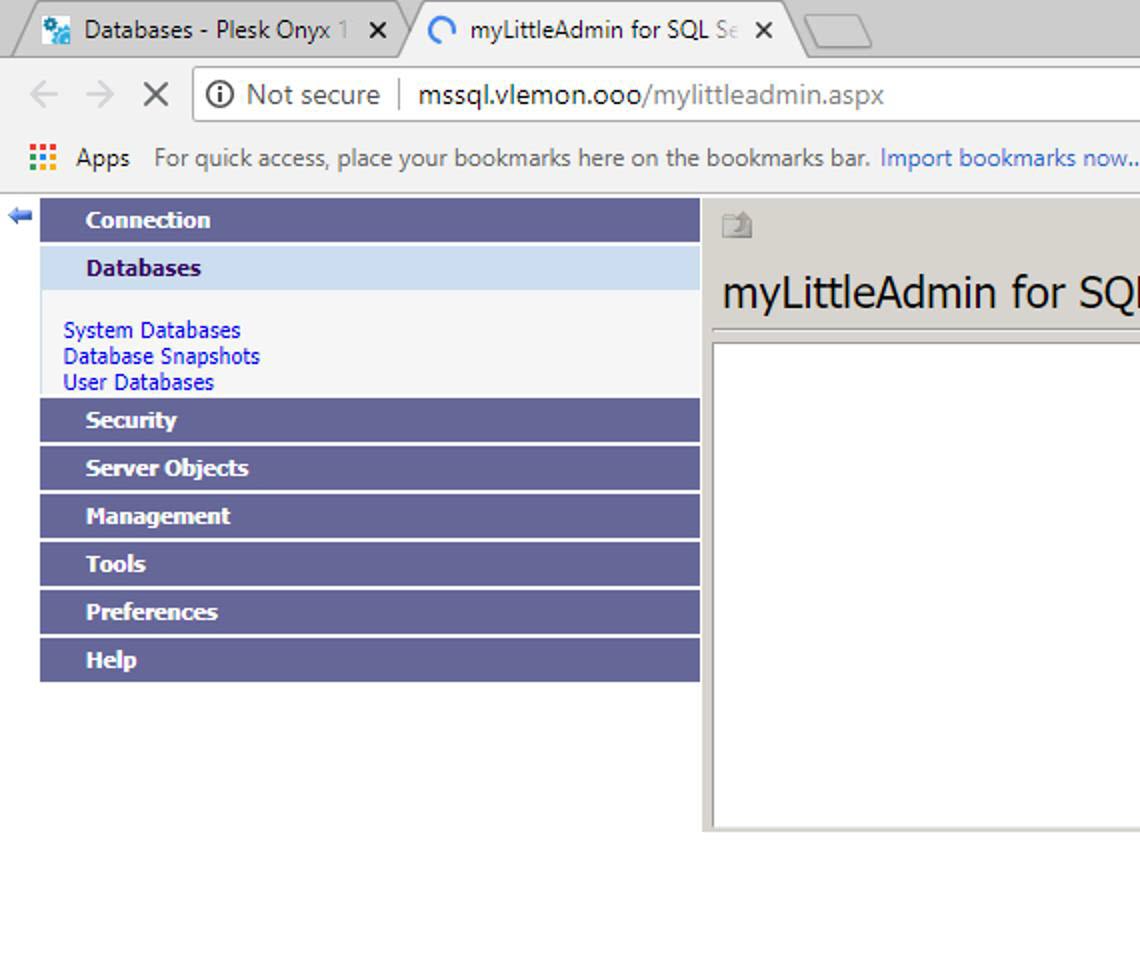
With Plesk, we will use Mail and my little admin. To use both the services we first need to create the appropriate subdomains records in DNS. Following image for a DNS entry for webmail.vlemon.ooo. You need to create the same for your domain.

After adding a valid entry, you are able to access webmail on your domain.
Definitely to use webmail you first need to create an email account.
Note: For Google Cloud Compute engine, users you are not able to send email outside your domain.
Step 10 Install Word Press
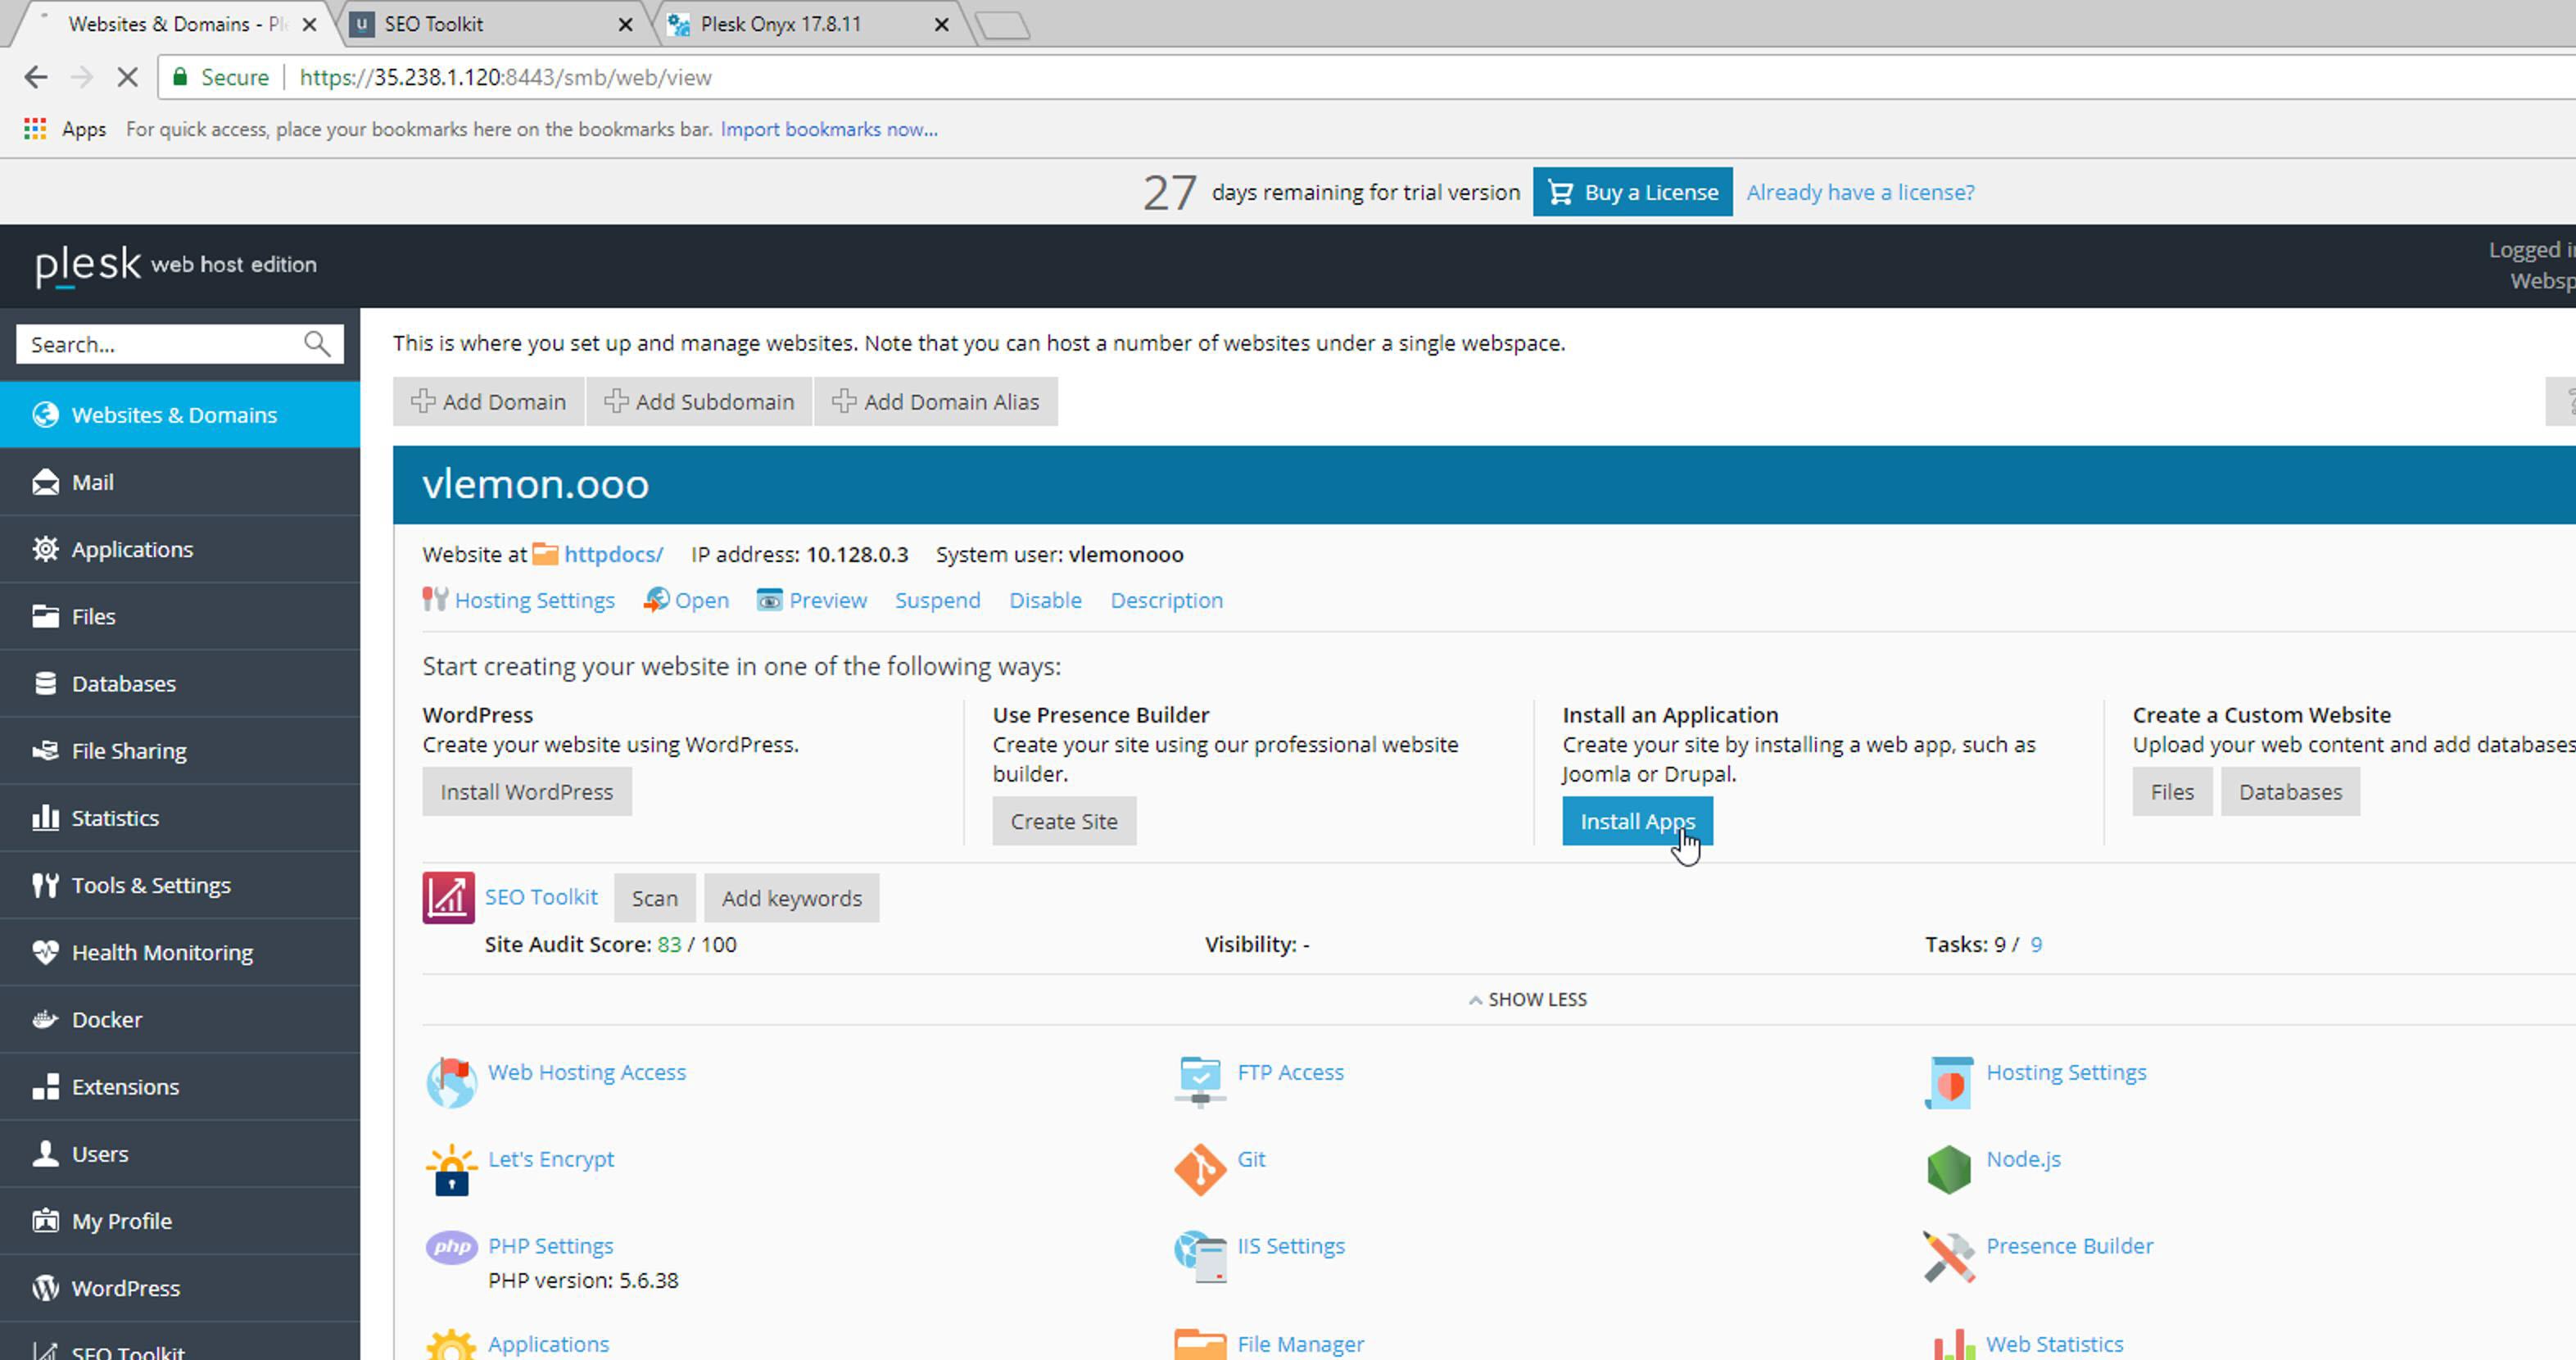
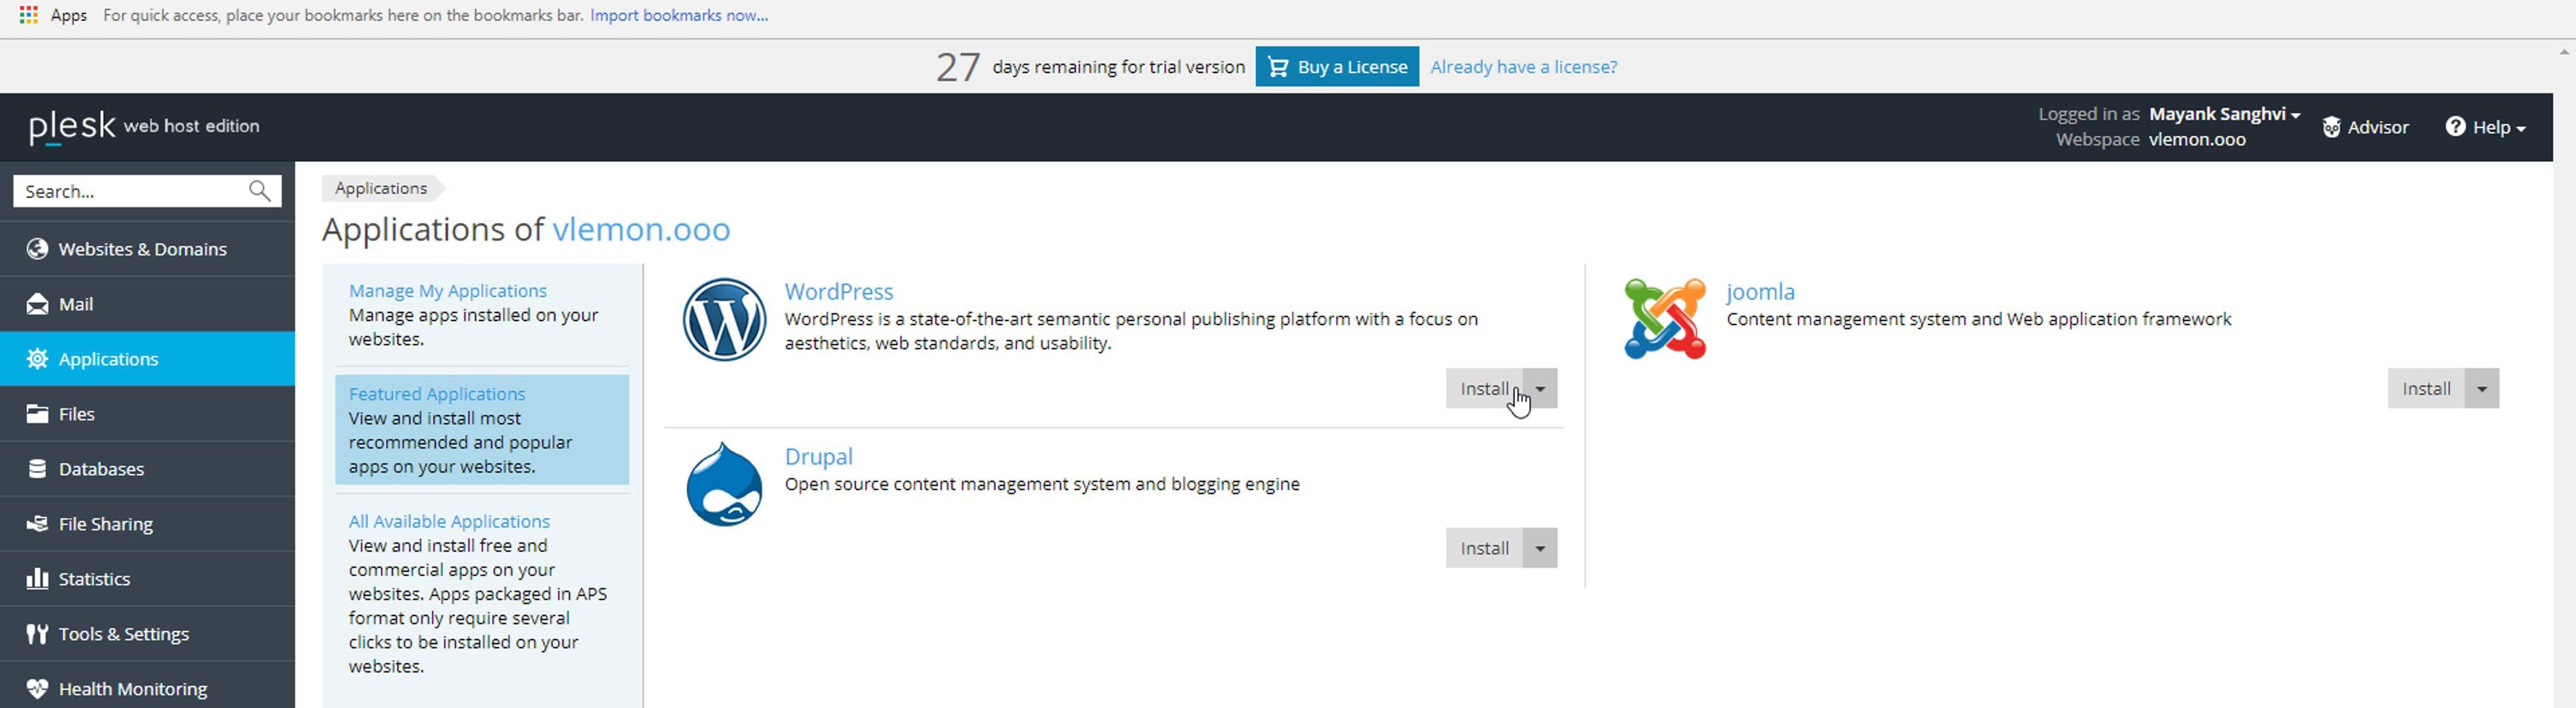
We are almost done with everything. Finally, we will install WordPress on our new domain. To install WordPress, click on Install Apps button. From the featured applications select WordPress. Wait for the installation to finish.

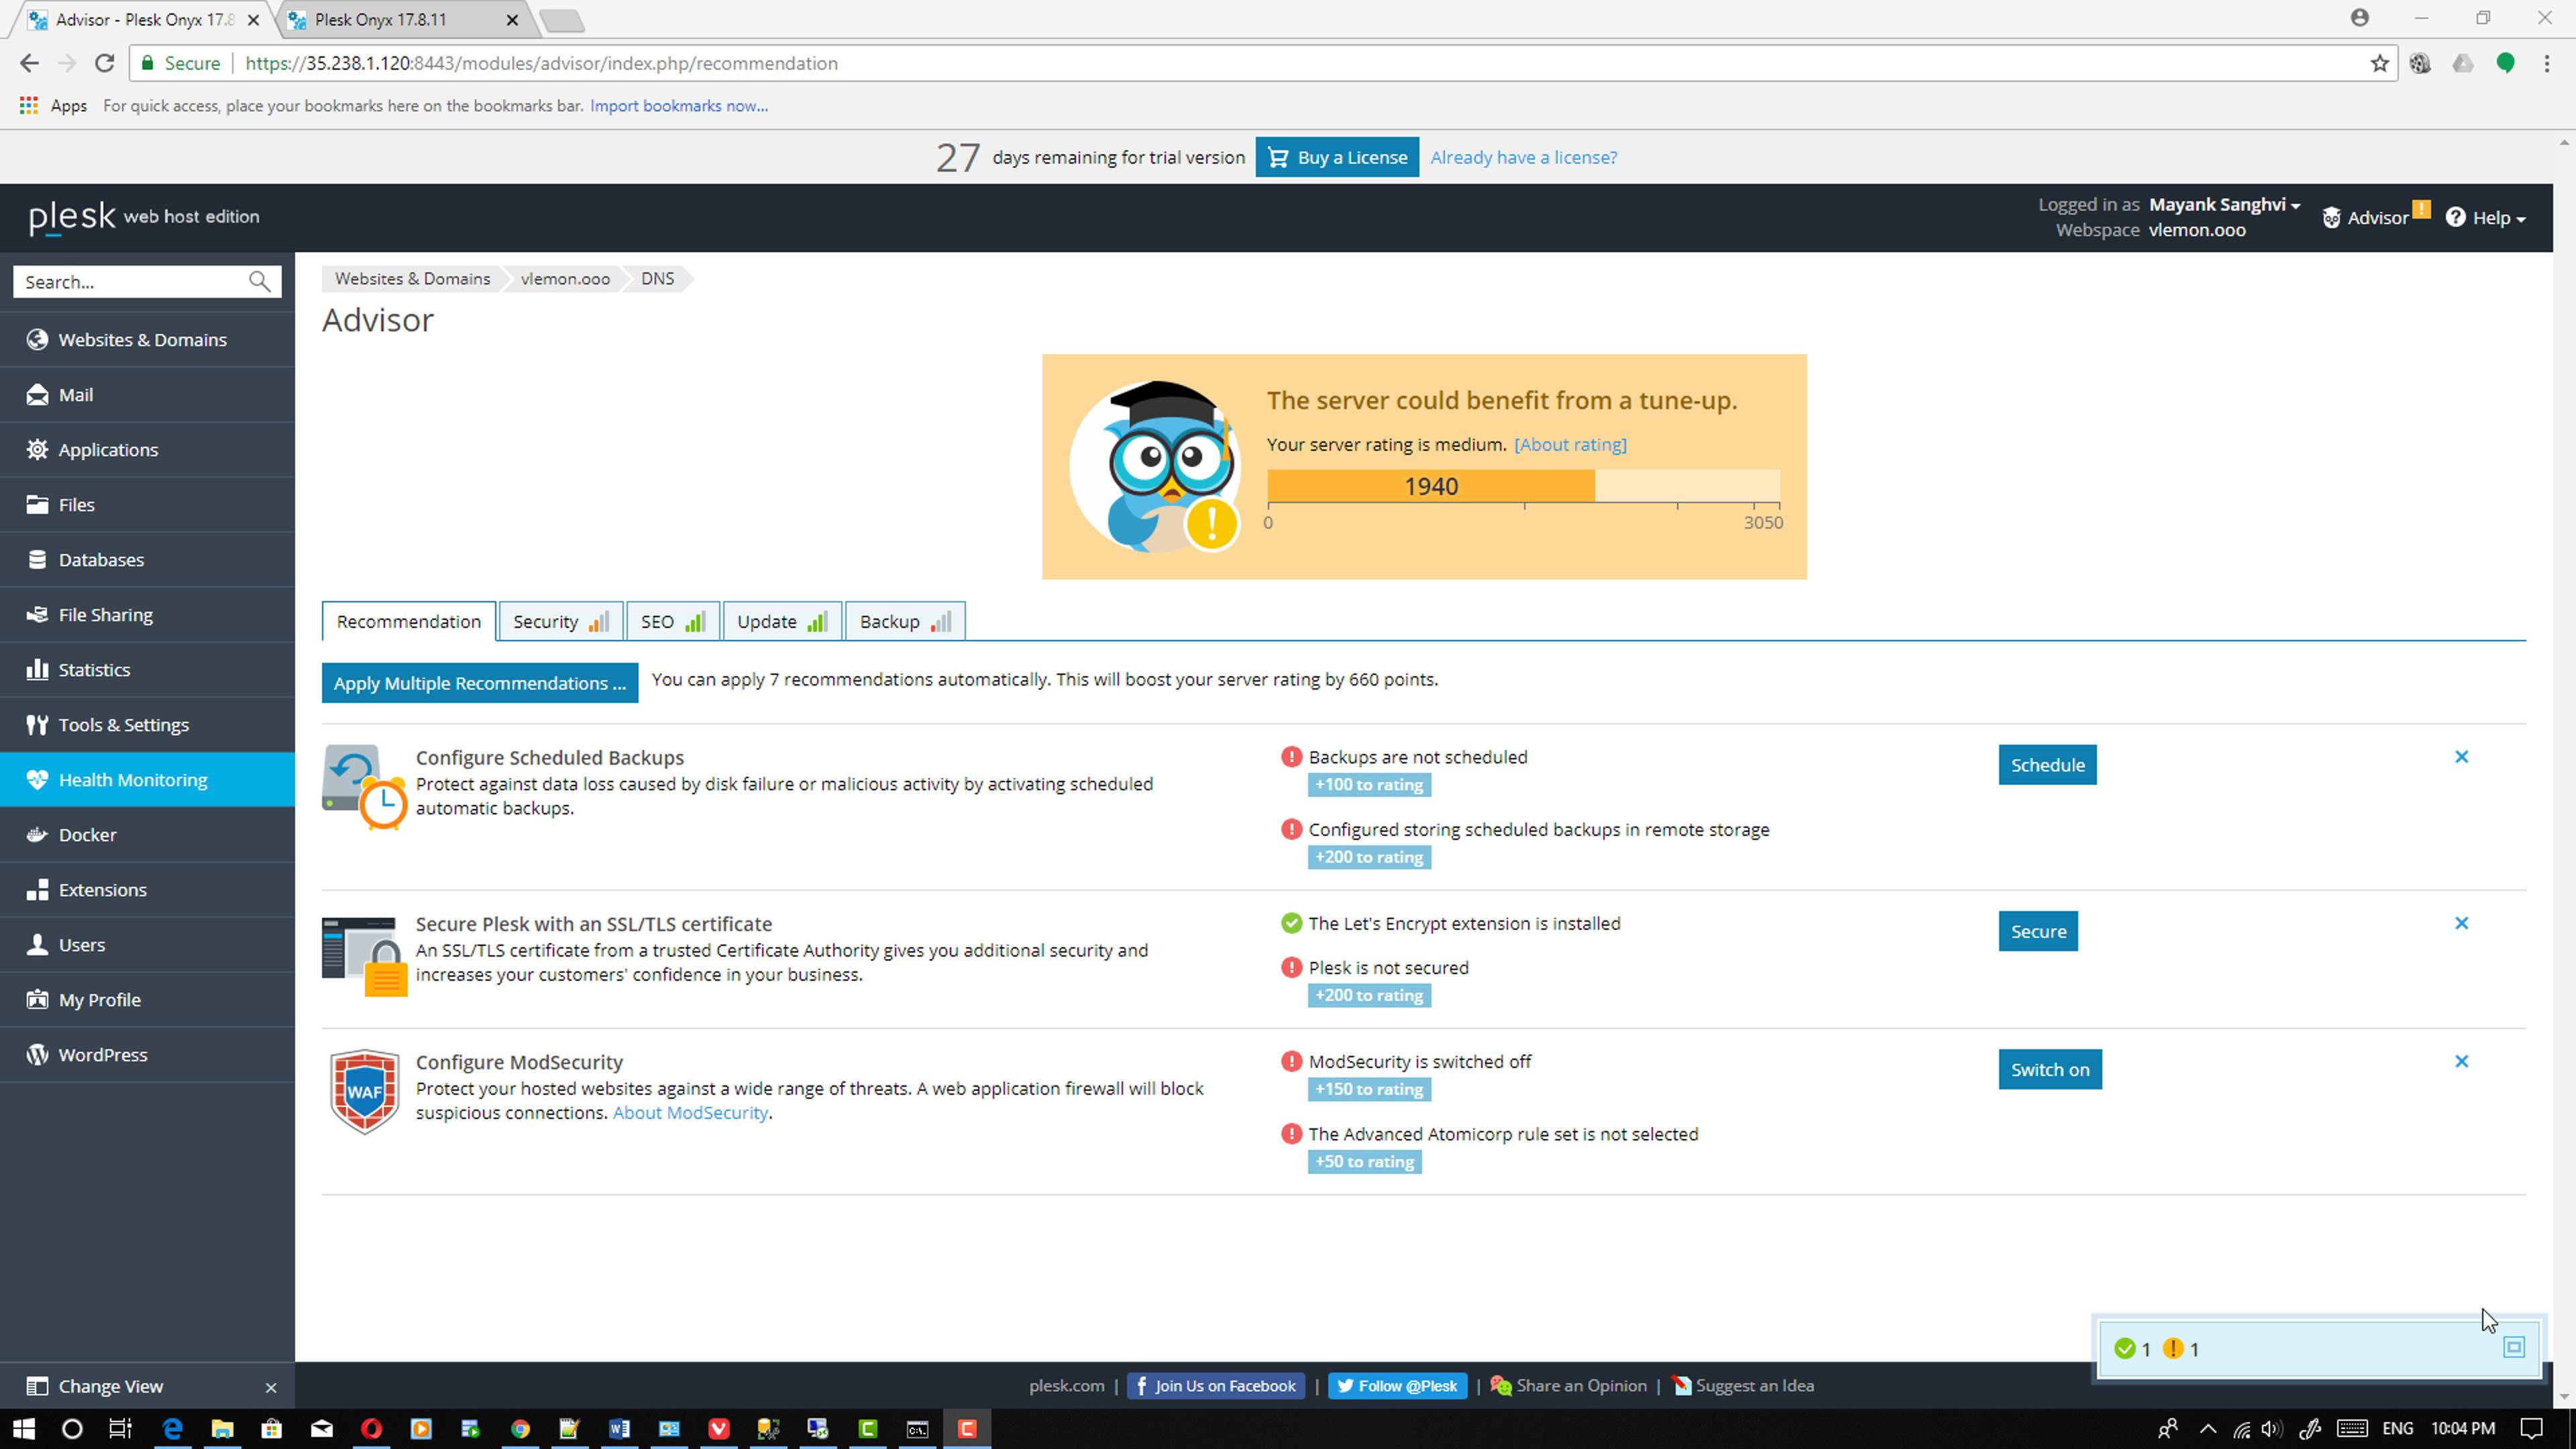
Step 11 Plesk Panel Advisor
We are almost done with the Plesk Panel installation. What is next? Next visit the Plesk Panel advisor page to install and configure the recommended plugins. It is important things to be done after the Plesk Panel installation.
Conclusion
We are done with the basic of Plesk Panel installation. There are lots of things we still need to configure before start using the Plesk Panel. We will cover all those in our upcoming articles.